Create and manage Explore Workplaces
1. Where to start?
Watch this tutorial video on how to create workplaces on the XR Platform and add data.
- Go to the Passerelle XR Platform.
Note
Make sure Explore square is selected. You can change squares by clicking on the corresponding icon.

Note
Make sure you have the Designer role. You can change roles by clicking on them and switch to another one in the list.
- As a Designer you immediately get the option to ‘Create a Workplace’ as seen in your Dashboard. When you press it, you’ll need to give some information.

- Give a clear title to your workplace.
- Make sure you are the owner of the workplace.
- Select an environment you want to use as an empty space.
- You can give a description of your workplace. For example: “This Workplace we use at external events.”
- Add other members of your organization if they should be able to edit the workplace as well.
2. How to add images, objects... to my Workplace?
When the Workplace exists on the XR Platform, we can fill it with different kinds of data like images, banners, objects... You will later be able to place all this in VR when designing your explore environment.

- Go to the XR Platform
Note
Make sure you have the Designer role. You can change roles by clicking on them and switch to another one in the list.
- Select your workplace in the ‘Workplaces’ menu.
- Here you’ll see the details you added during the creation.
- Switch to the files tab and use the upload button to add files.
-The kinds of data you can add:
- Video (flat and 360) (mp4)
- Image (flat and 360) (jpg,png)
- Powerpoint (100 mb)
- 3D (fbx)
- The files will start processing. Wait until they’re ready before you start designing you explore workplace.

Info
- Videos that are long or big in file size take a while to process. Try to keep the file size small or under 5 minutes.
3. How do I start designing the Workplace in VR?
Watch this tutorial video on how to enter the Explore workplace and open the Edit menu
Note
Make sure you have the Designer role.
When you created a Workplace and added data on the XR Platform, you can put on the VR headset and start designing in VR.
- Open the Explore app. You can find the app in the app library of your Pico headset or in 'Unknown sources on Meta headsets'
- If there is no Explore on your device, you can download it from
- Supportsquare app manager
- XR Installer
- 'Devices' on the XR Platform (mdm)
- If there is no app manager on the device, use the Installer to setup your device first.
- If there is no Explore on your device, you can download it from
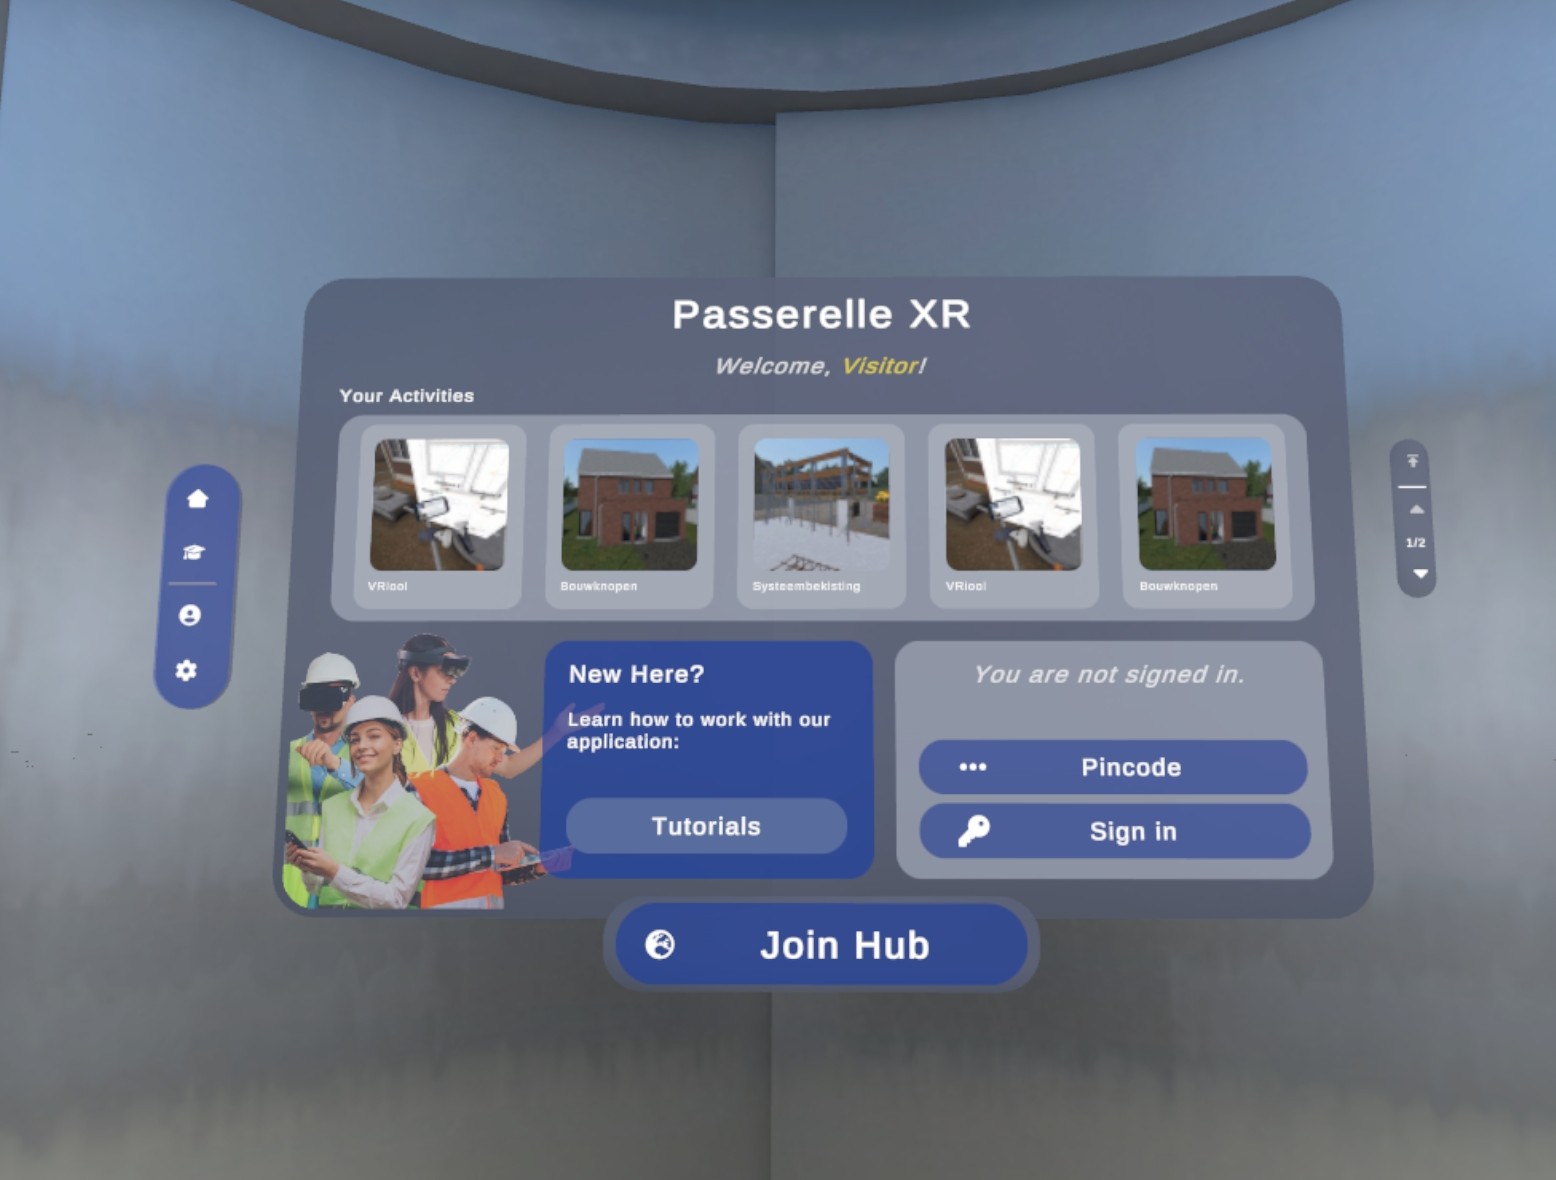
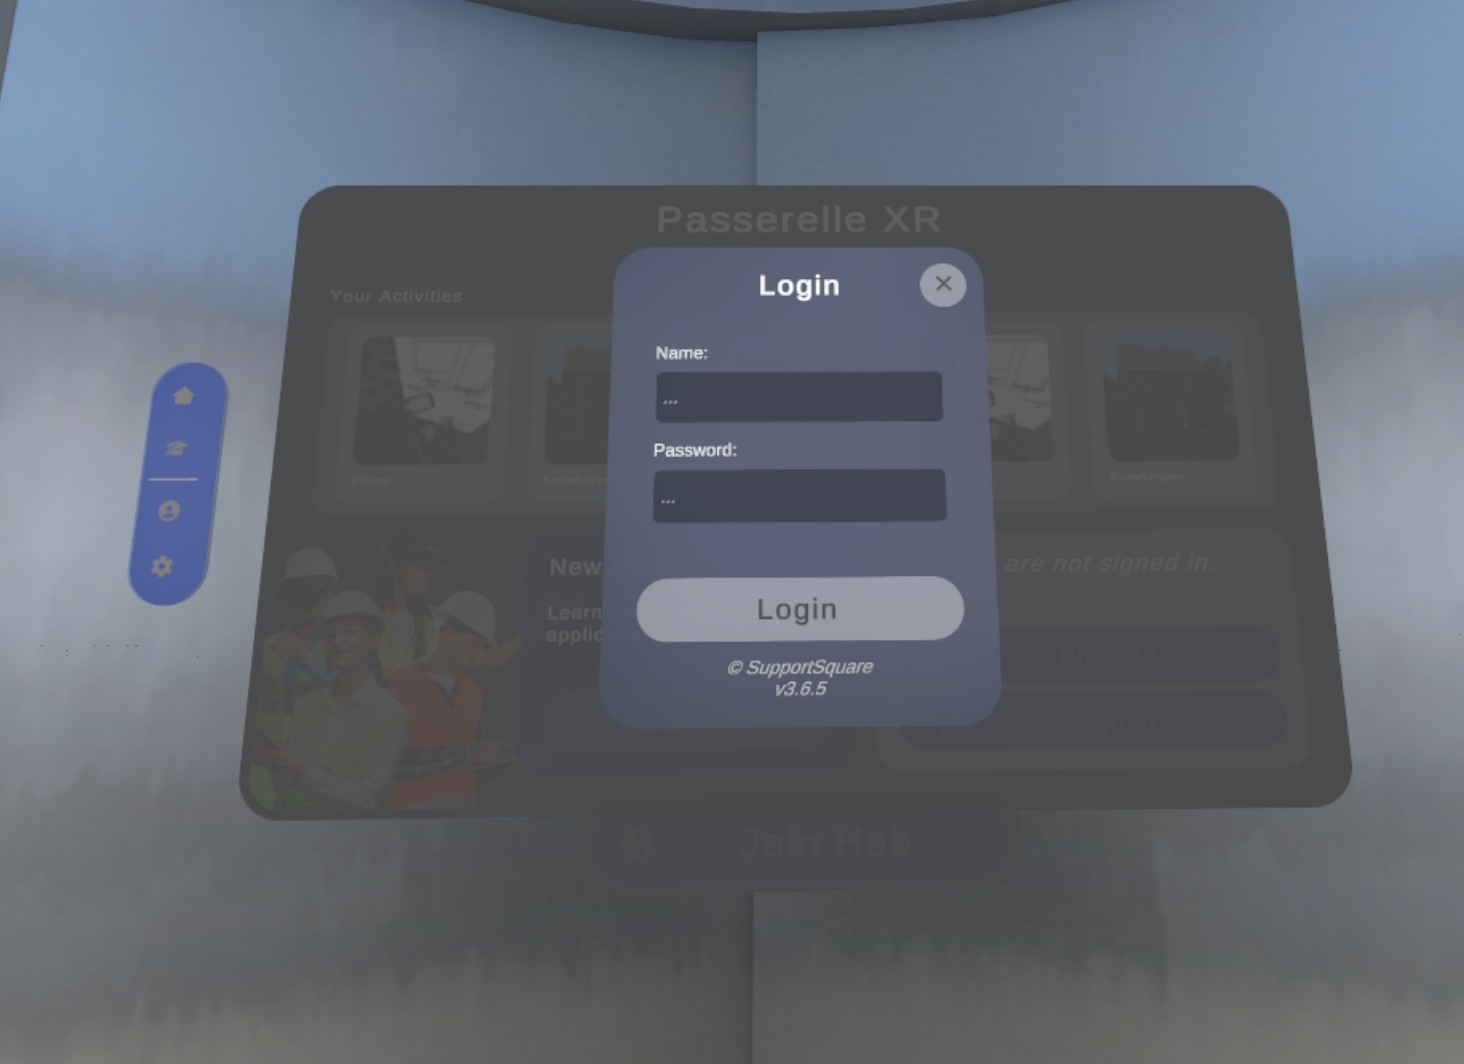
- Press ‘sign in’ on the panel on the right to log in with your XR platform account.
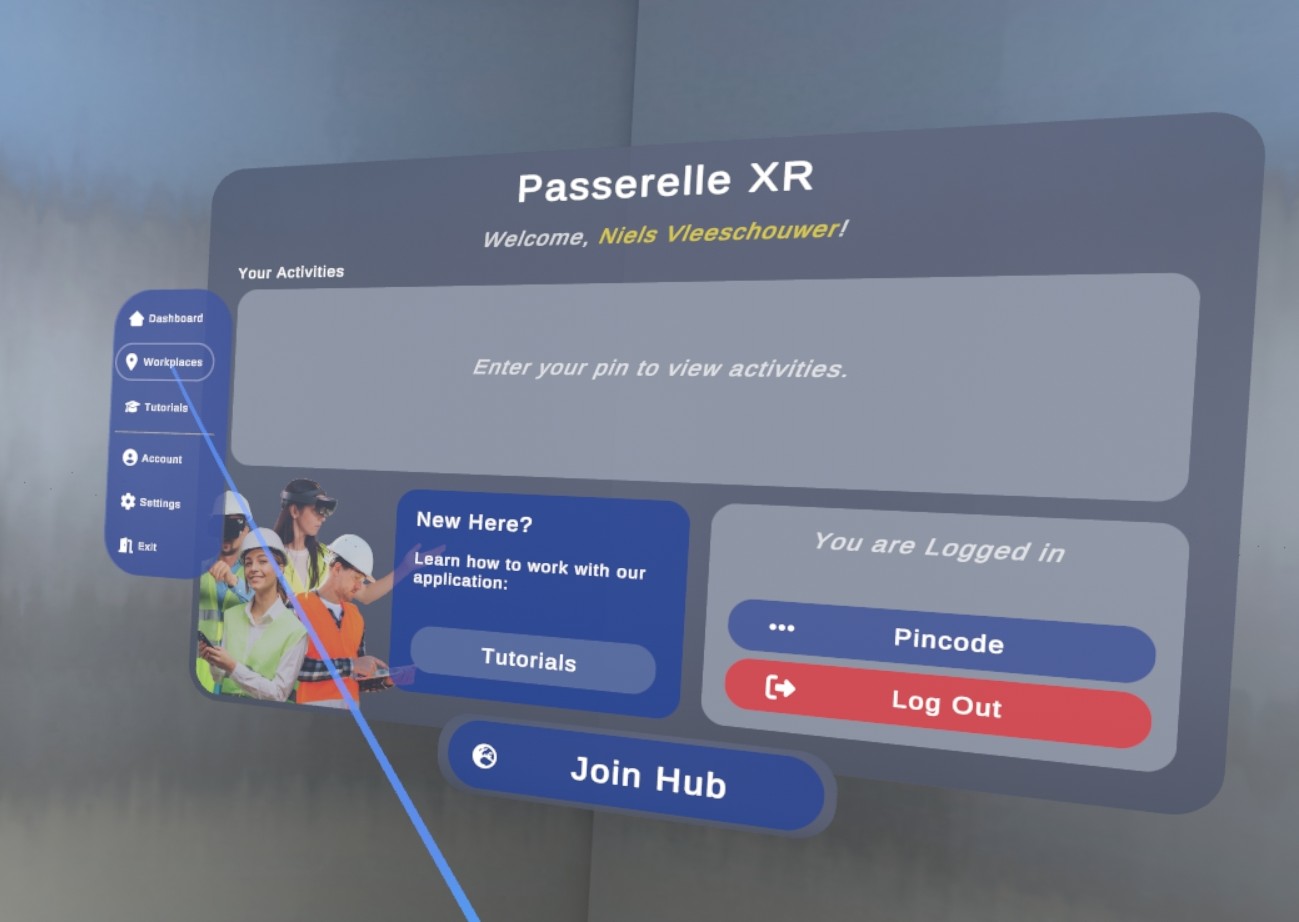
- When signed in, select Workplaces on the left.
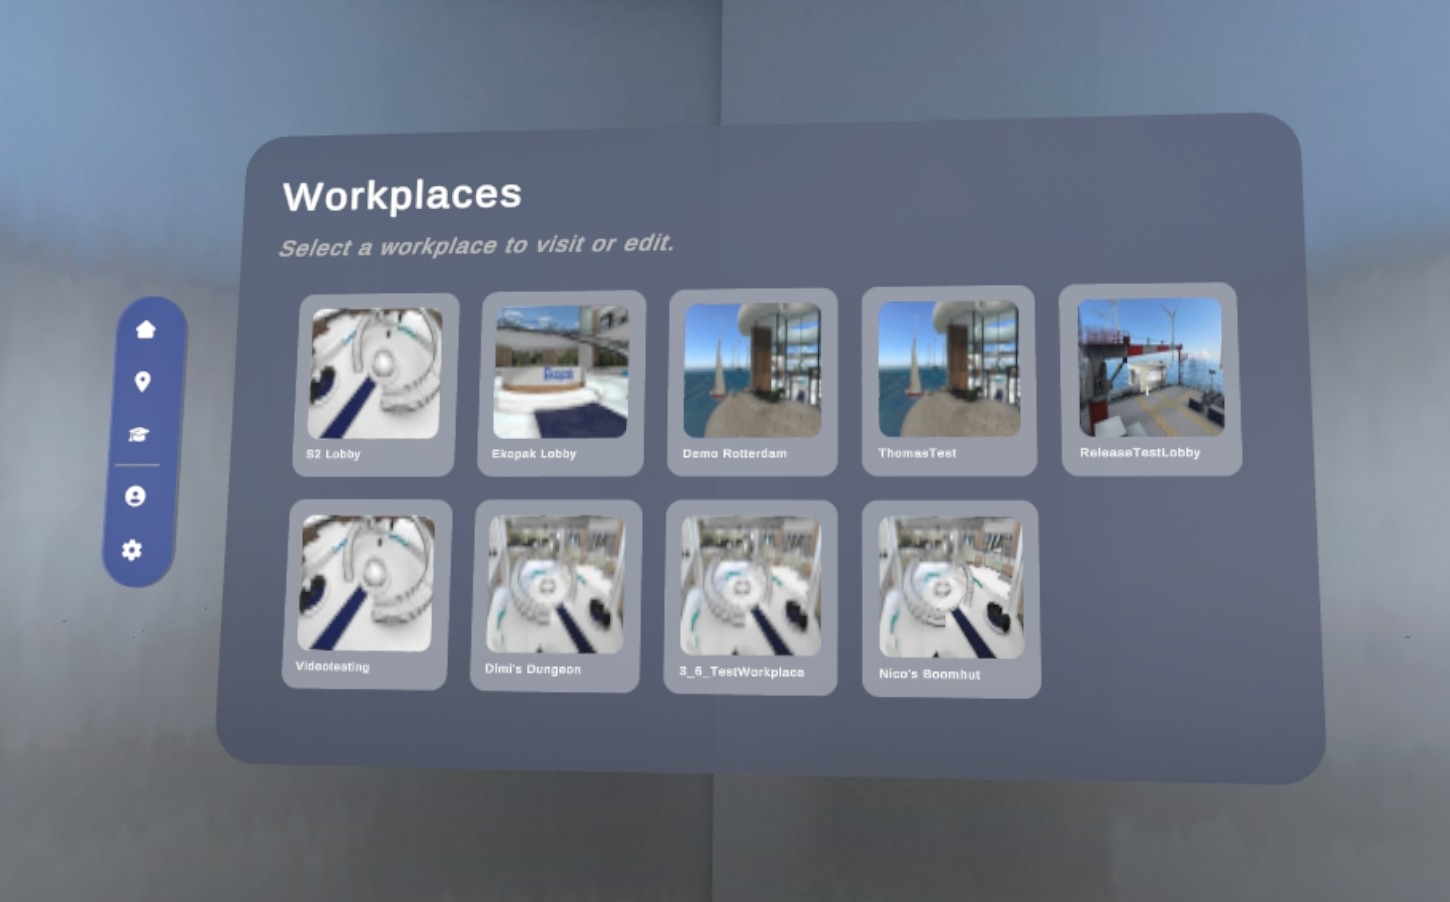
- Select the Workplace you want to edit.
4. How does designing Workplaces work in VR?
Note
Make sure you have the Designer role.
You have entered the Explore Workplace. To summon the designer menu, turn your left hand towards you, press the time button and press the box icon. Use your other hand to press the buttons. Here you’ll find all options to change your workplace.
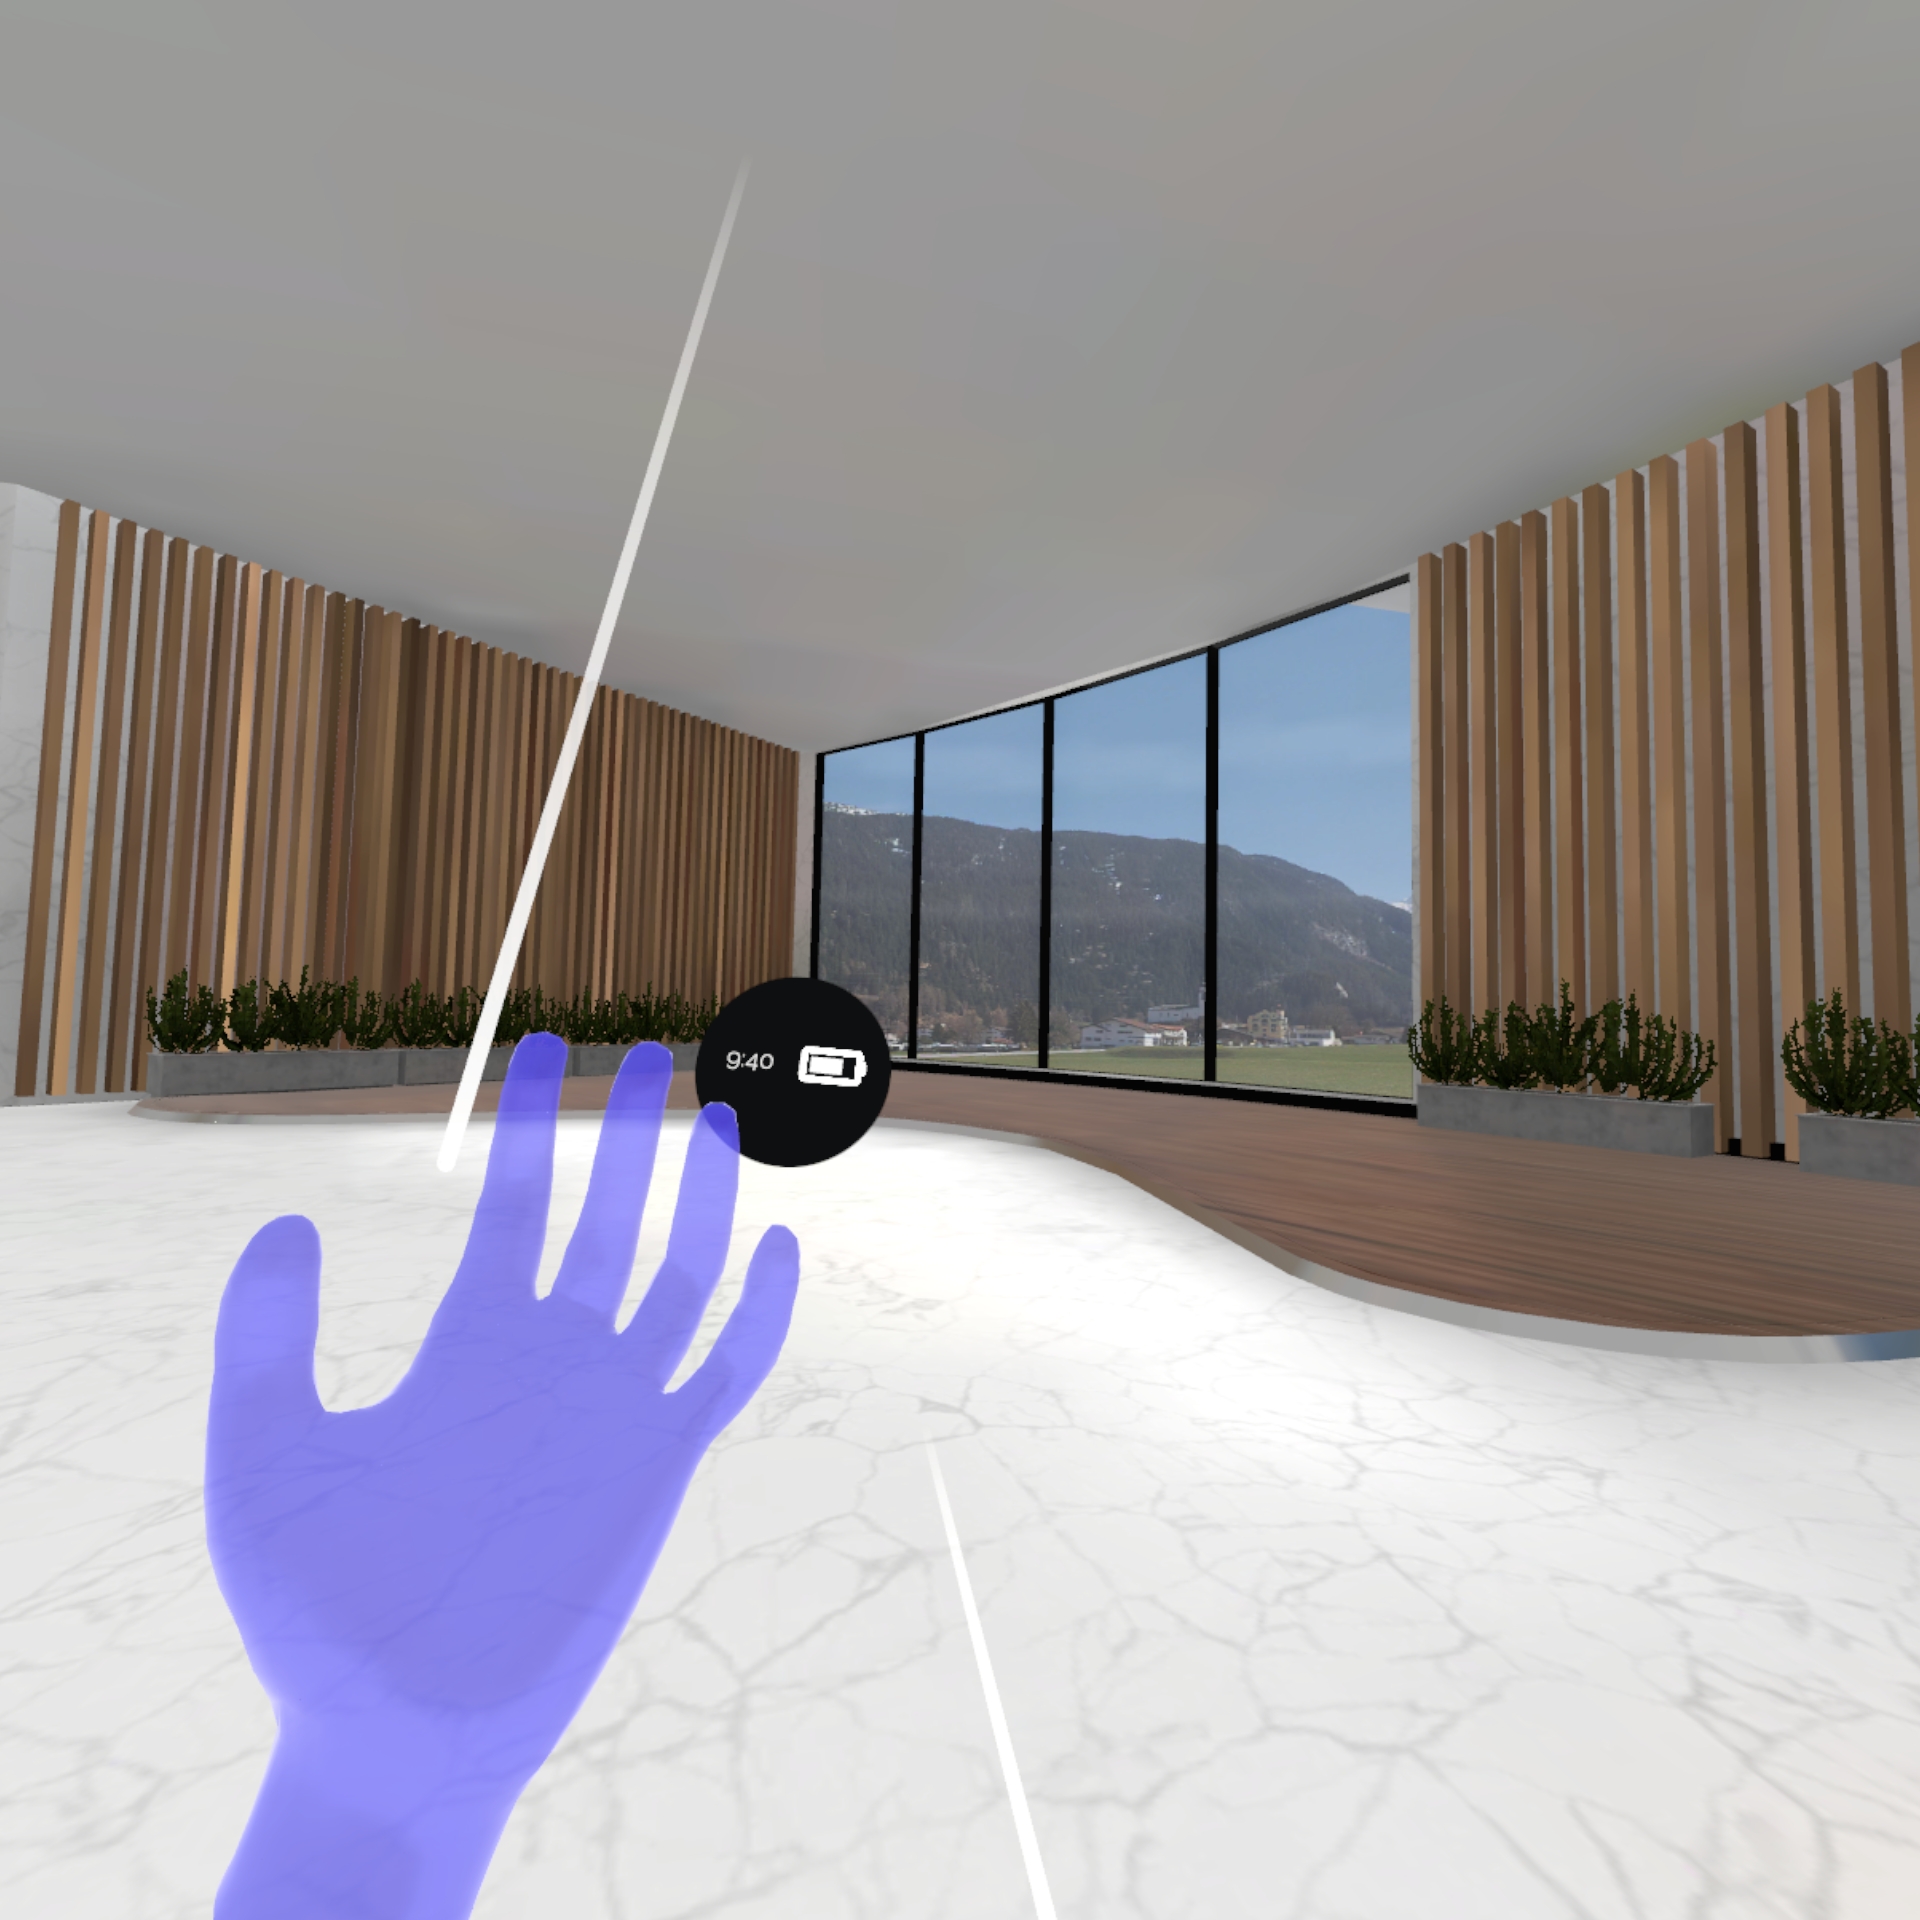
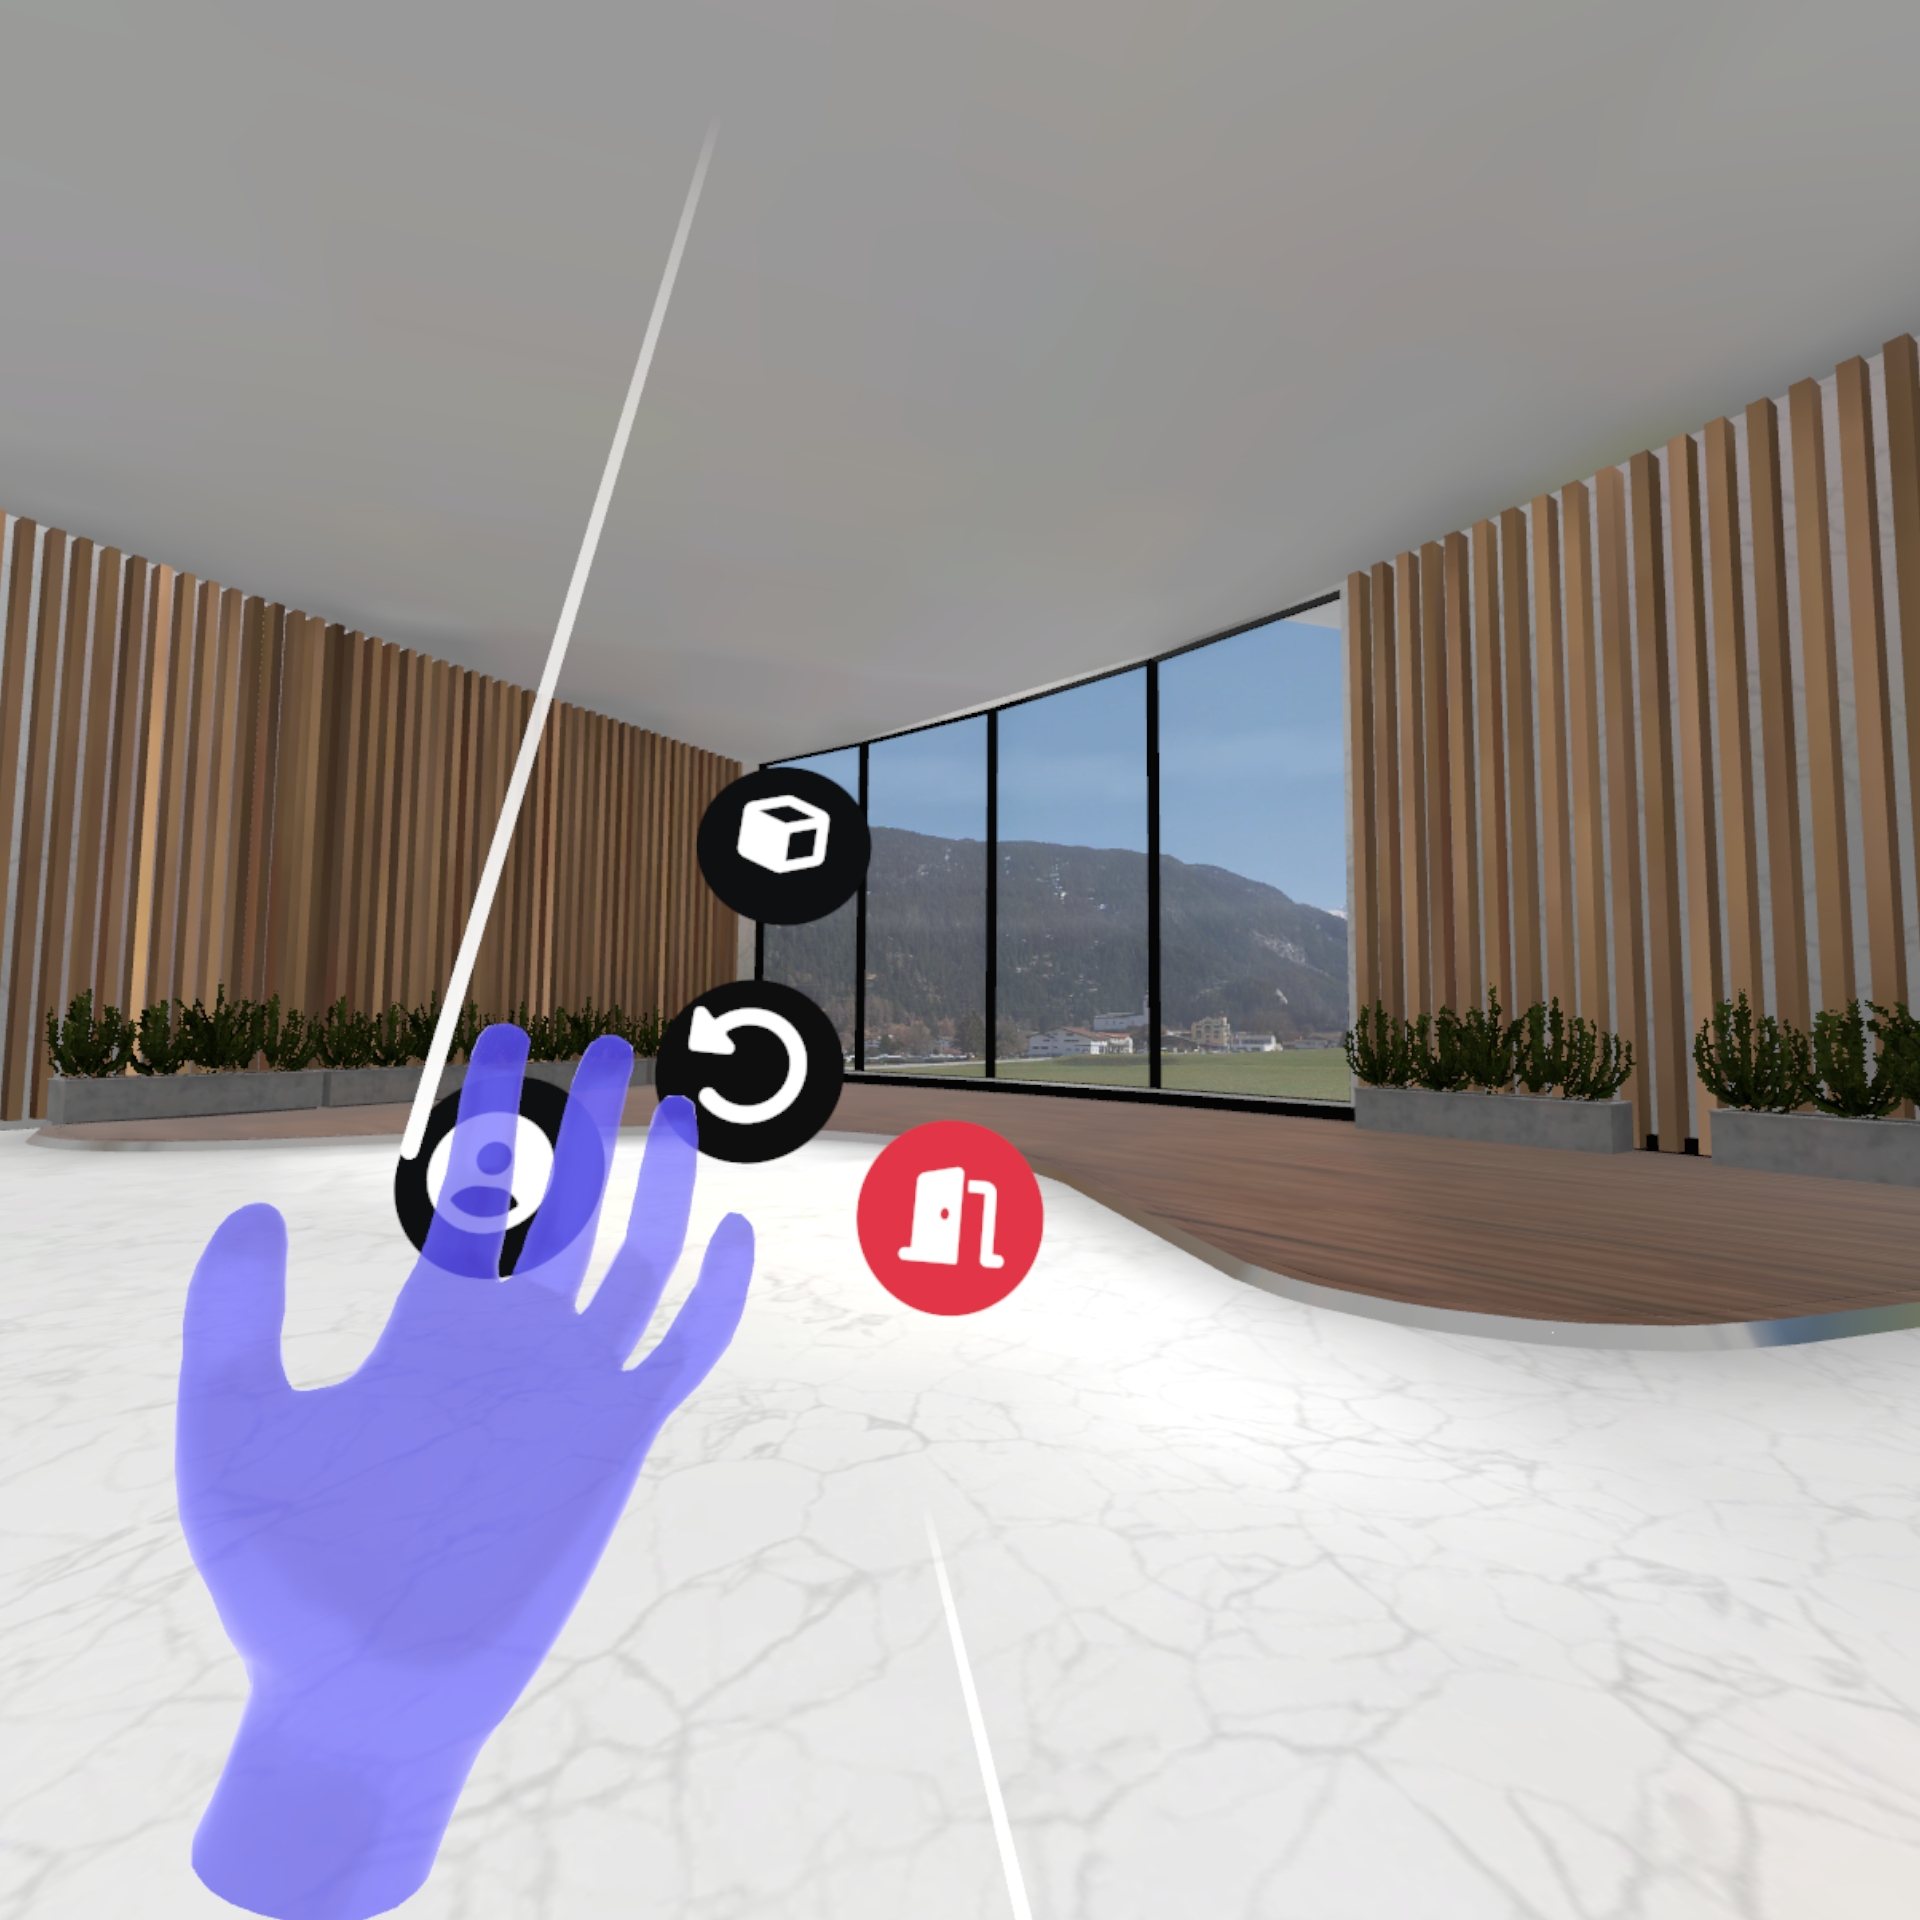
Here you can choose between the designer menu, your profile or to leave the workplace.
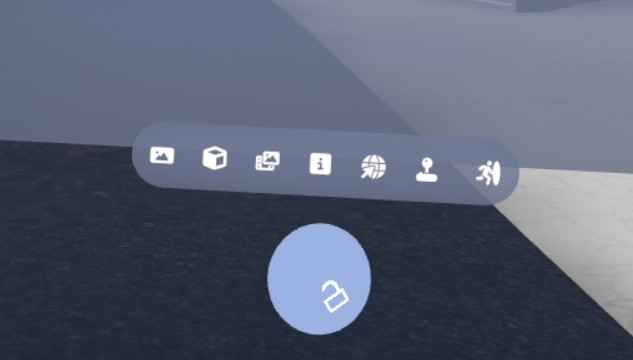
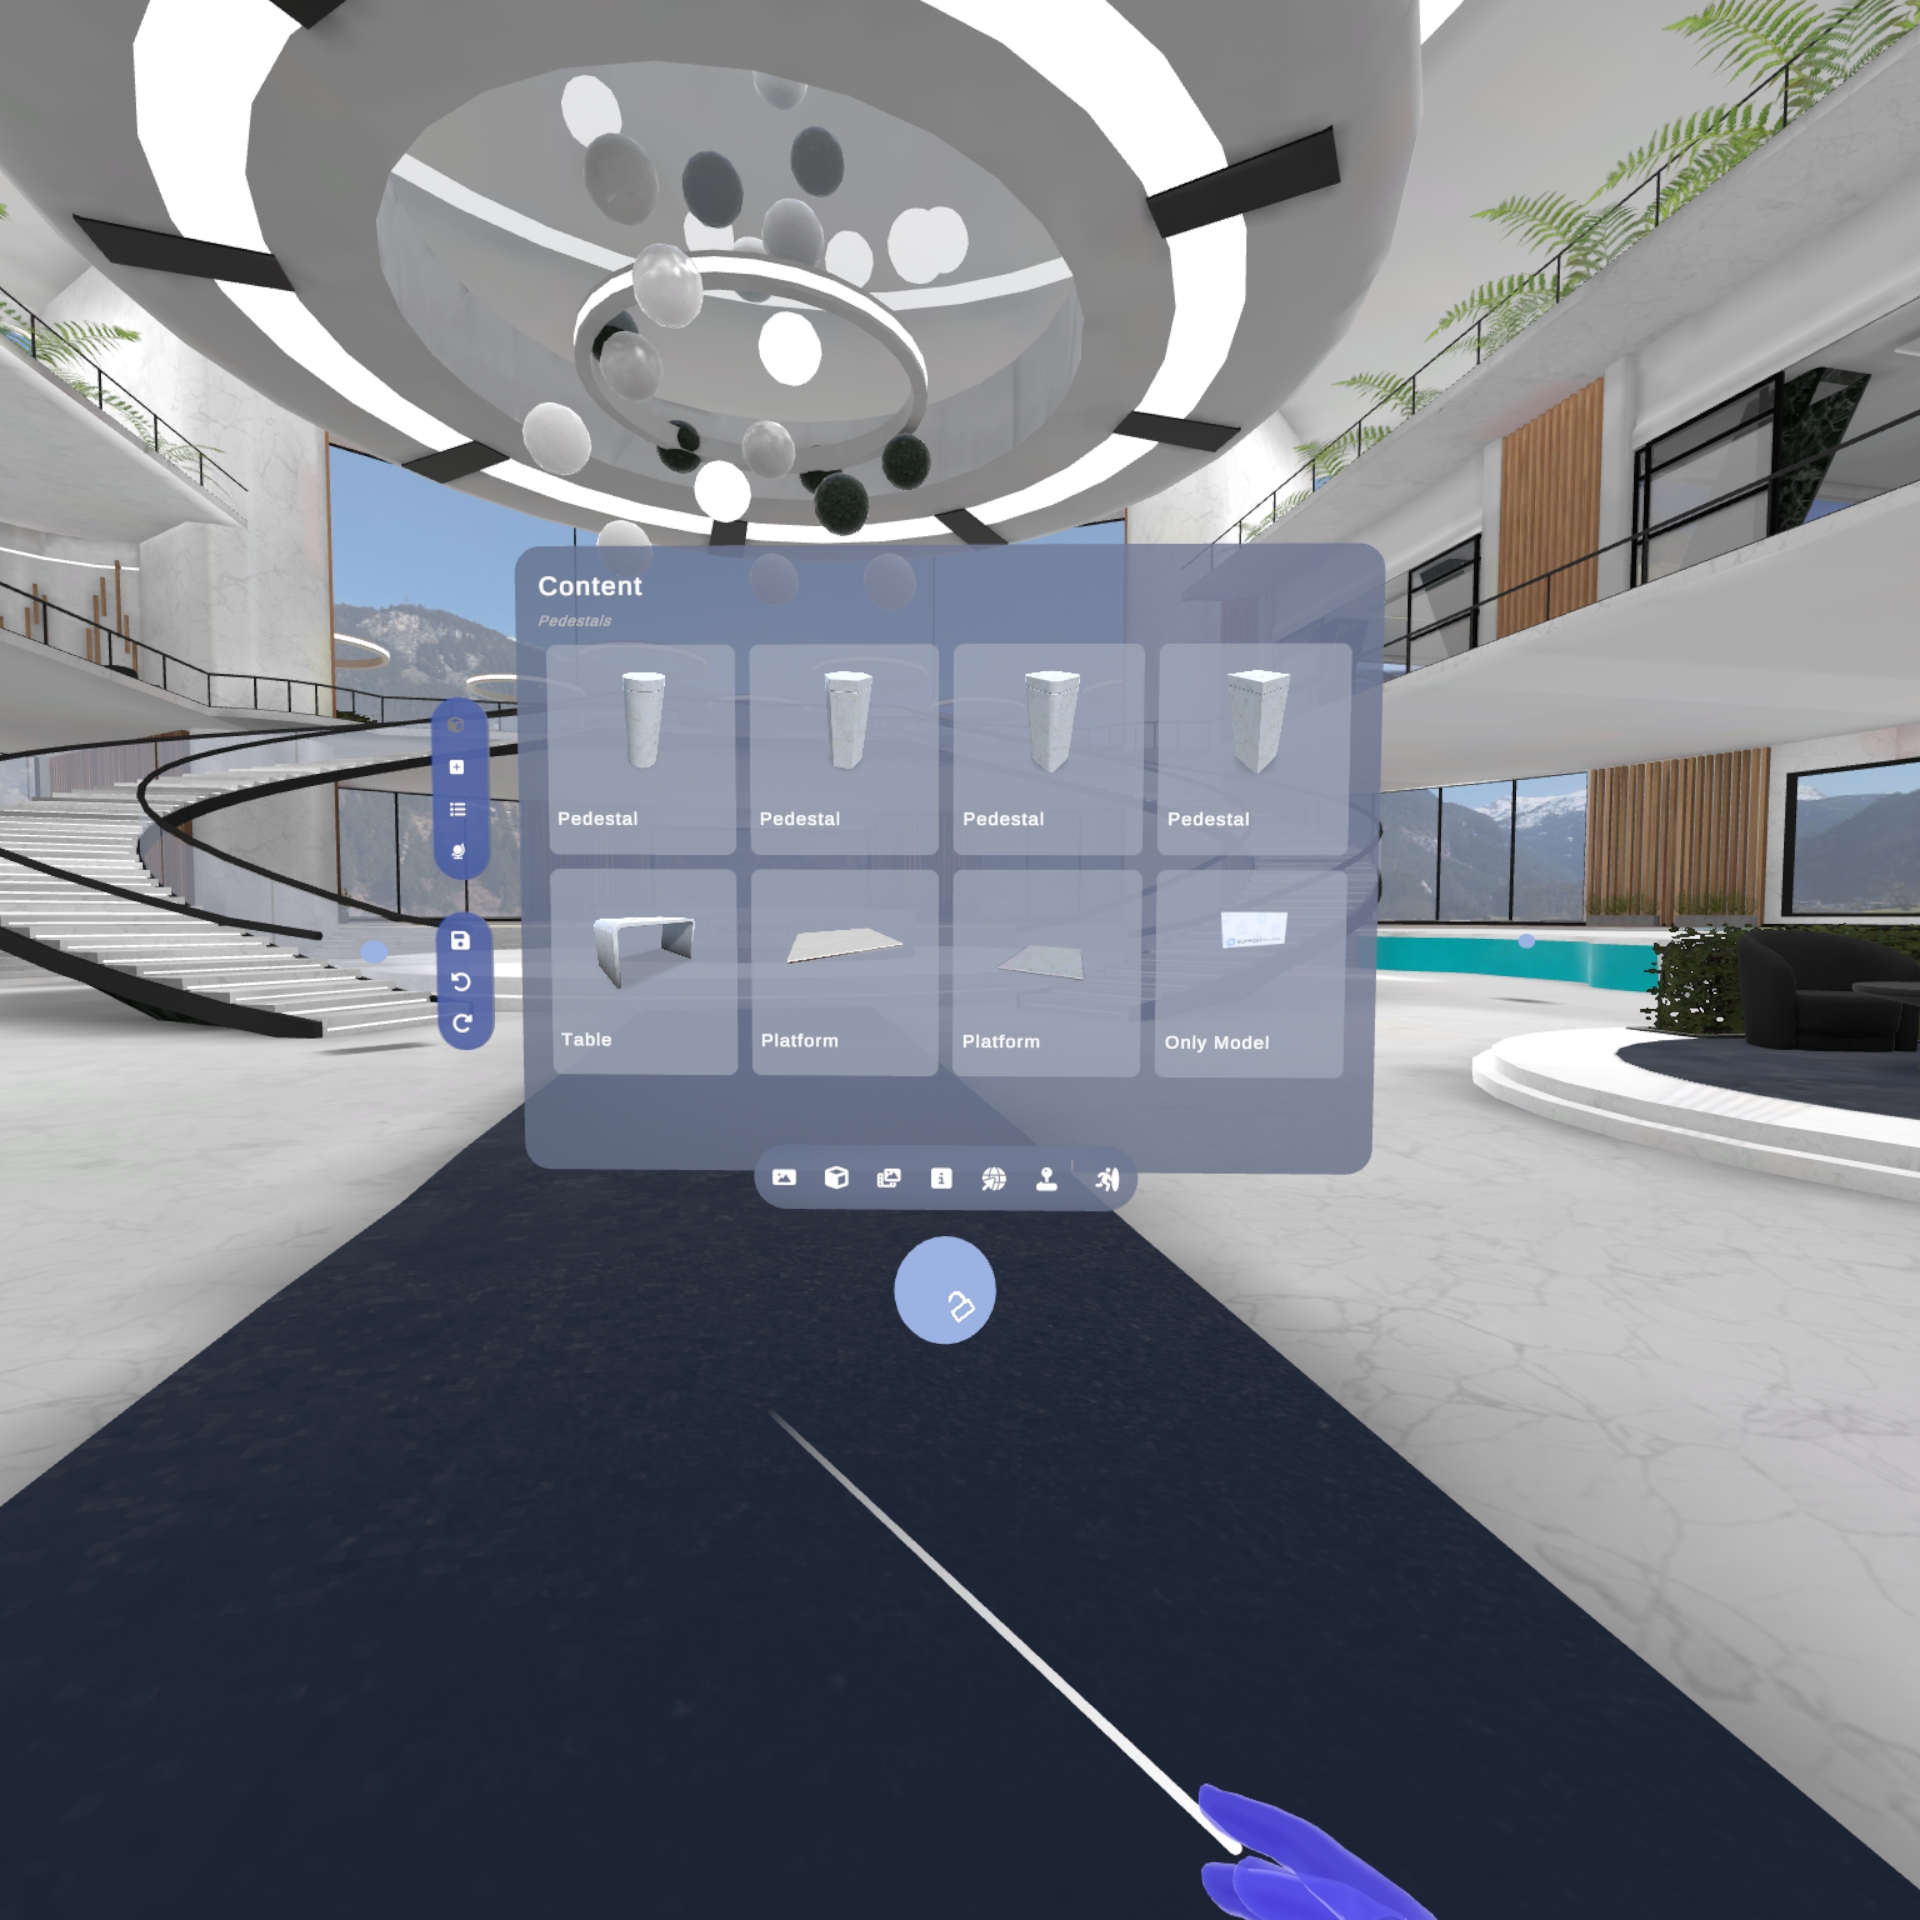
When opening the designer menu, you can choose between different kinds of placeables: banners for images, pedestals for 3D objects, videoscreens, info screens, webbrowsers, Guide procedures and portals to 360° video's or 3D environments.
- When choosing a placeable type such as pedestals, pick one of the content options to bring the object in the Workplace.
Selecting and moving objects
-
When the object appears in the Workplace for the first time, it is attached to the end of your pointer and can move it around freely. Use the trigger button to fix the placeable on the spot.
-
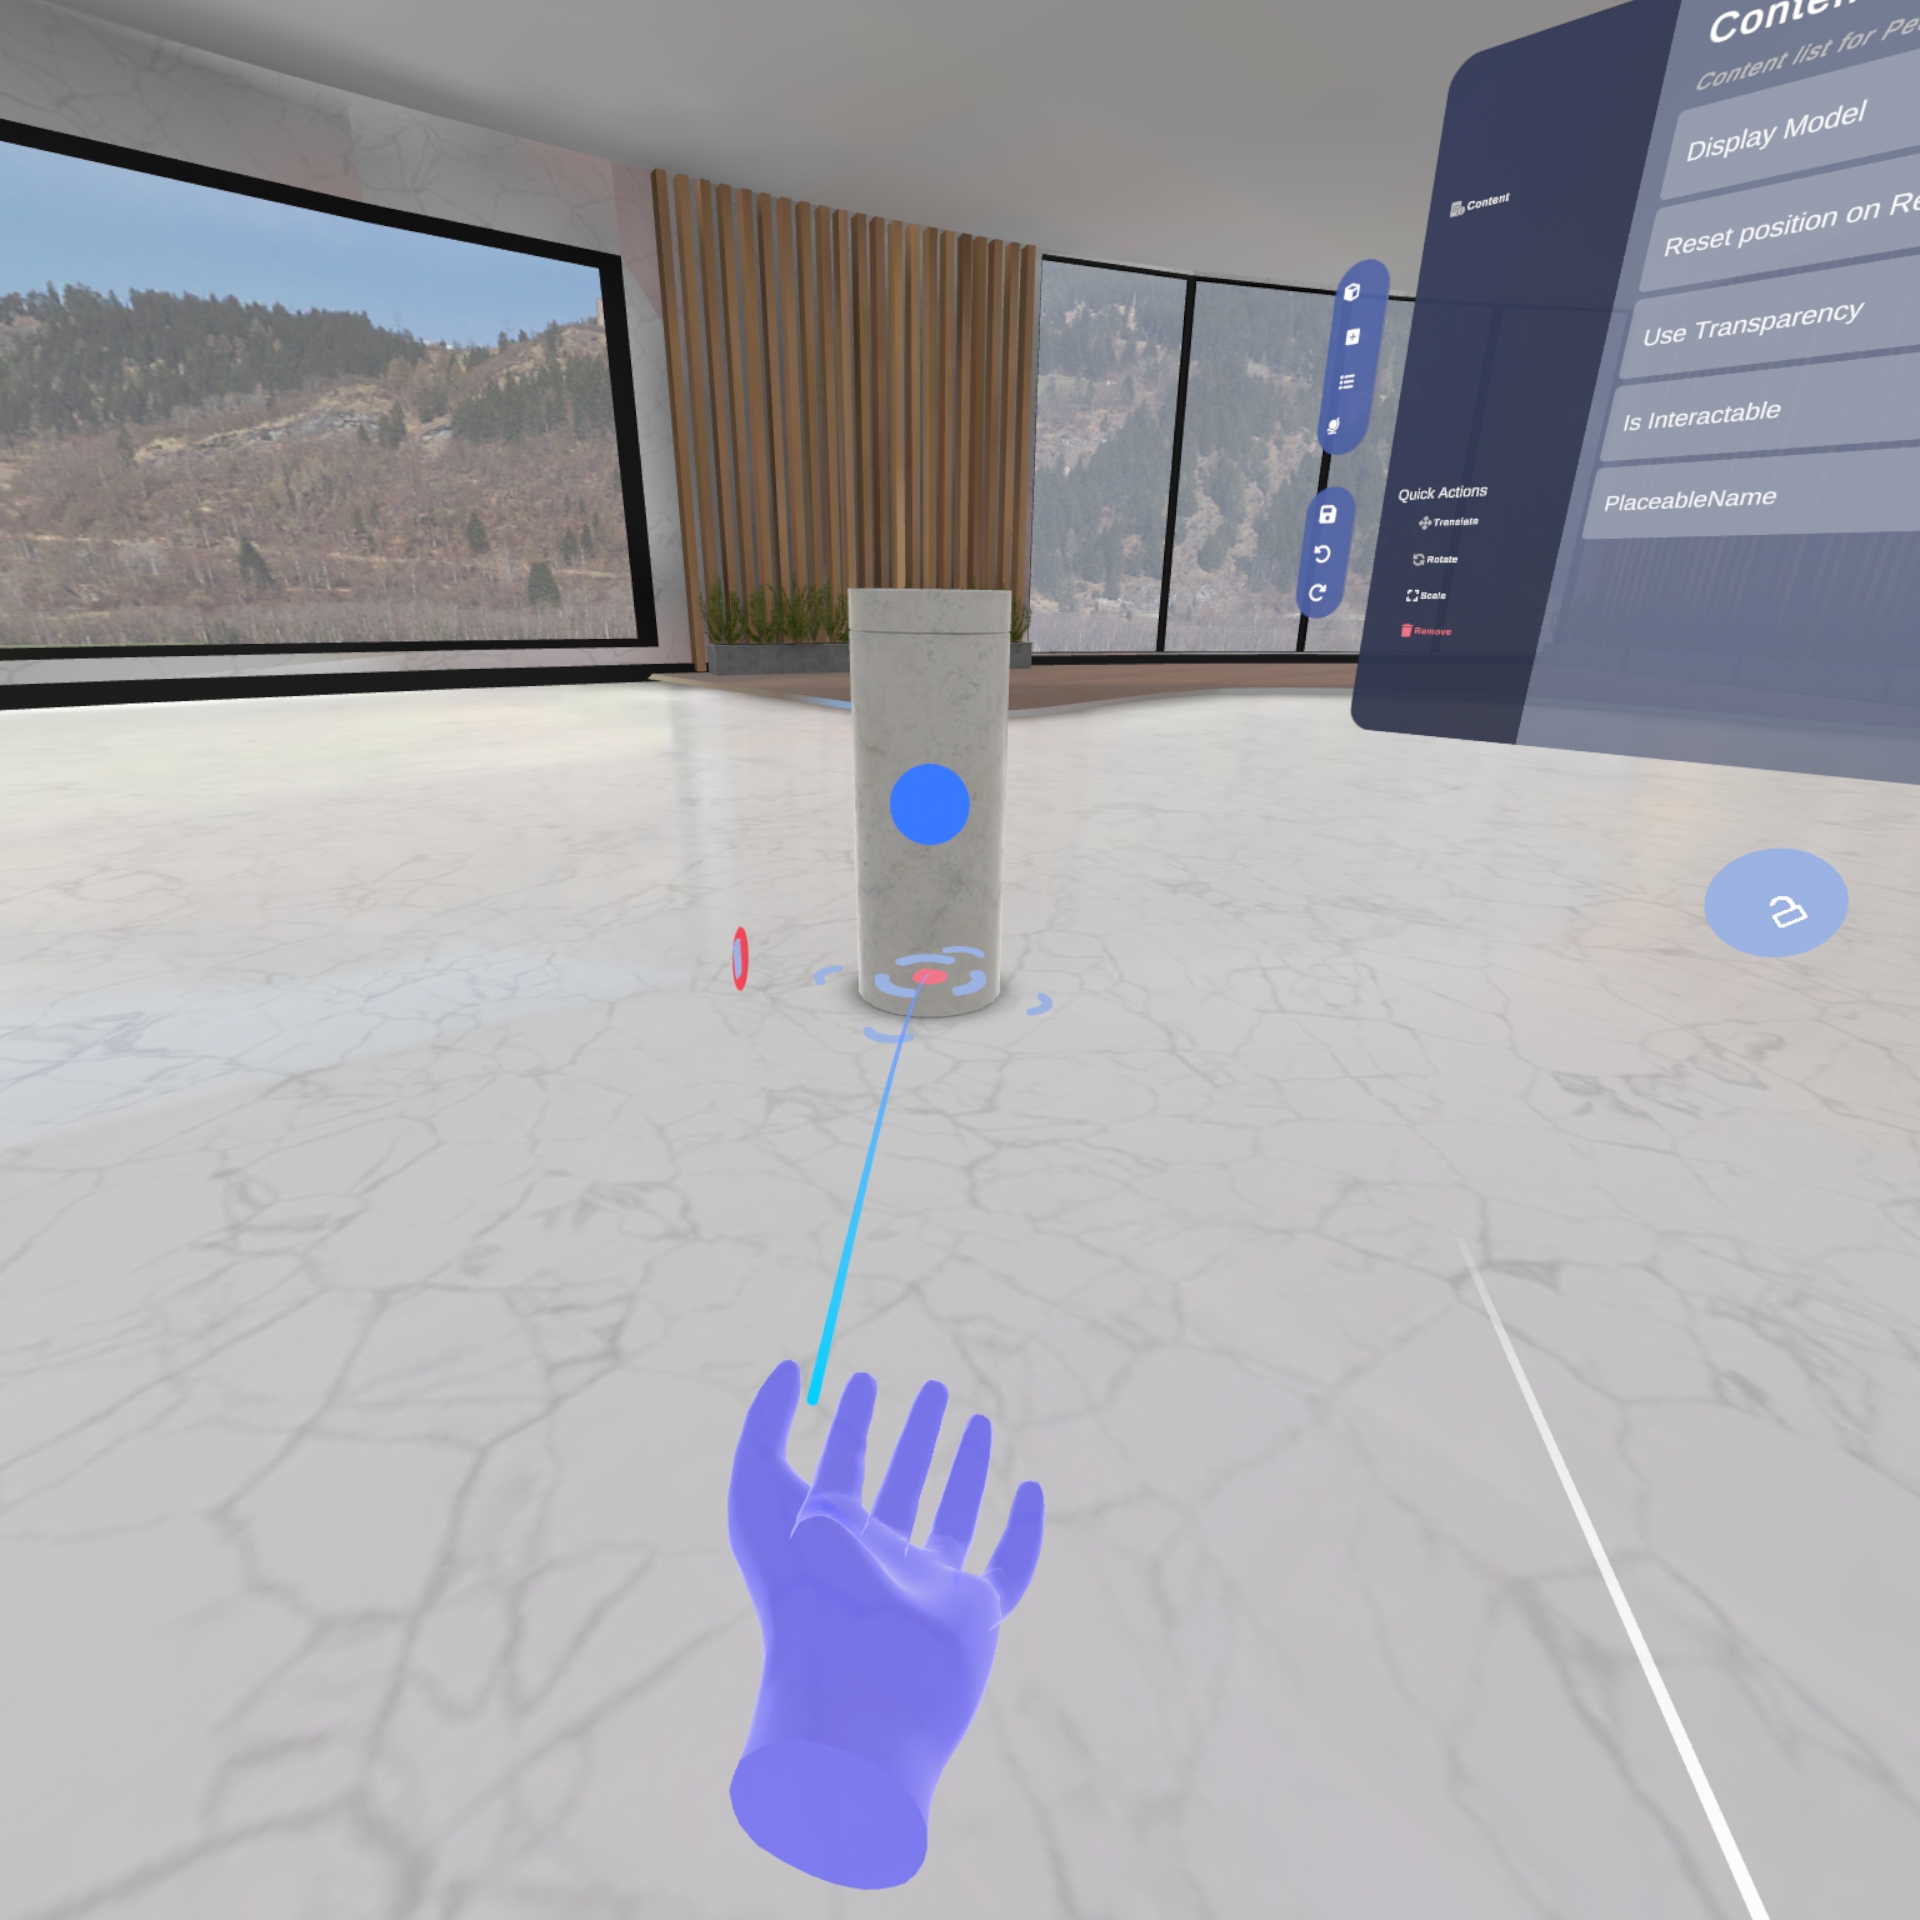
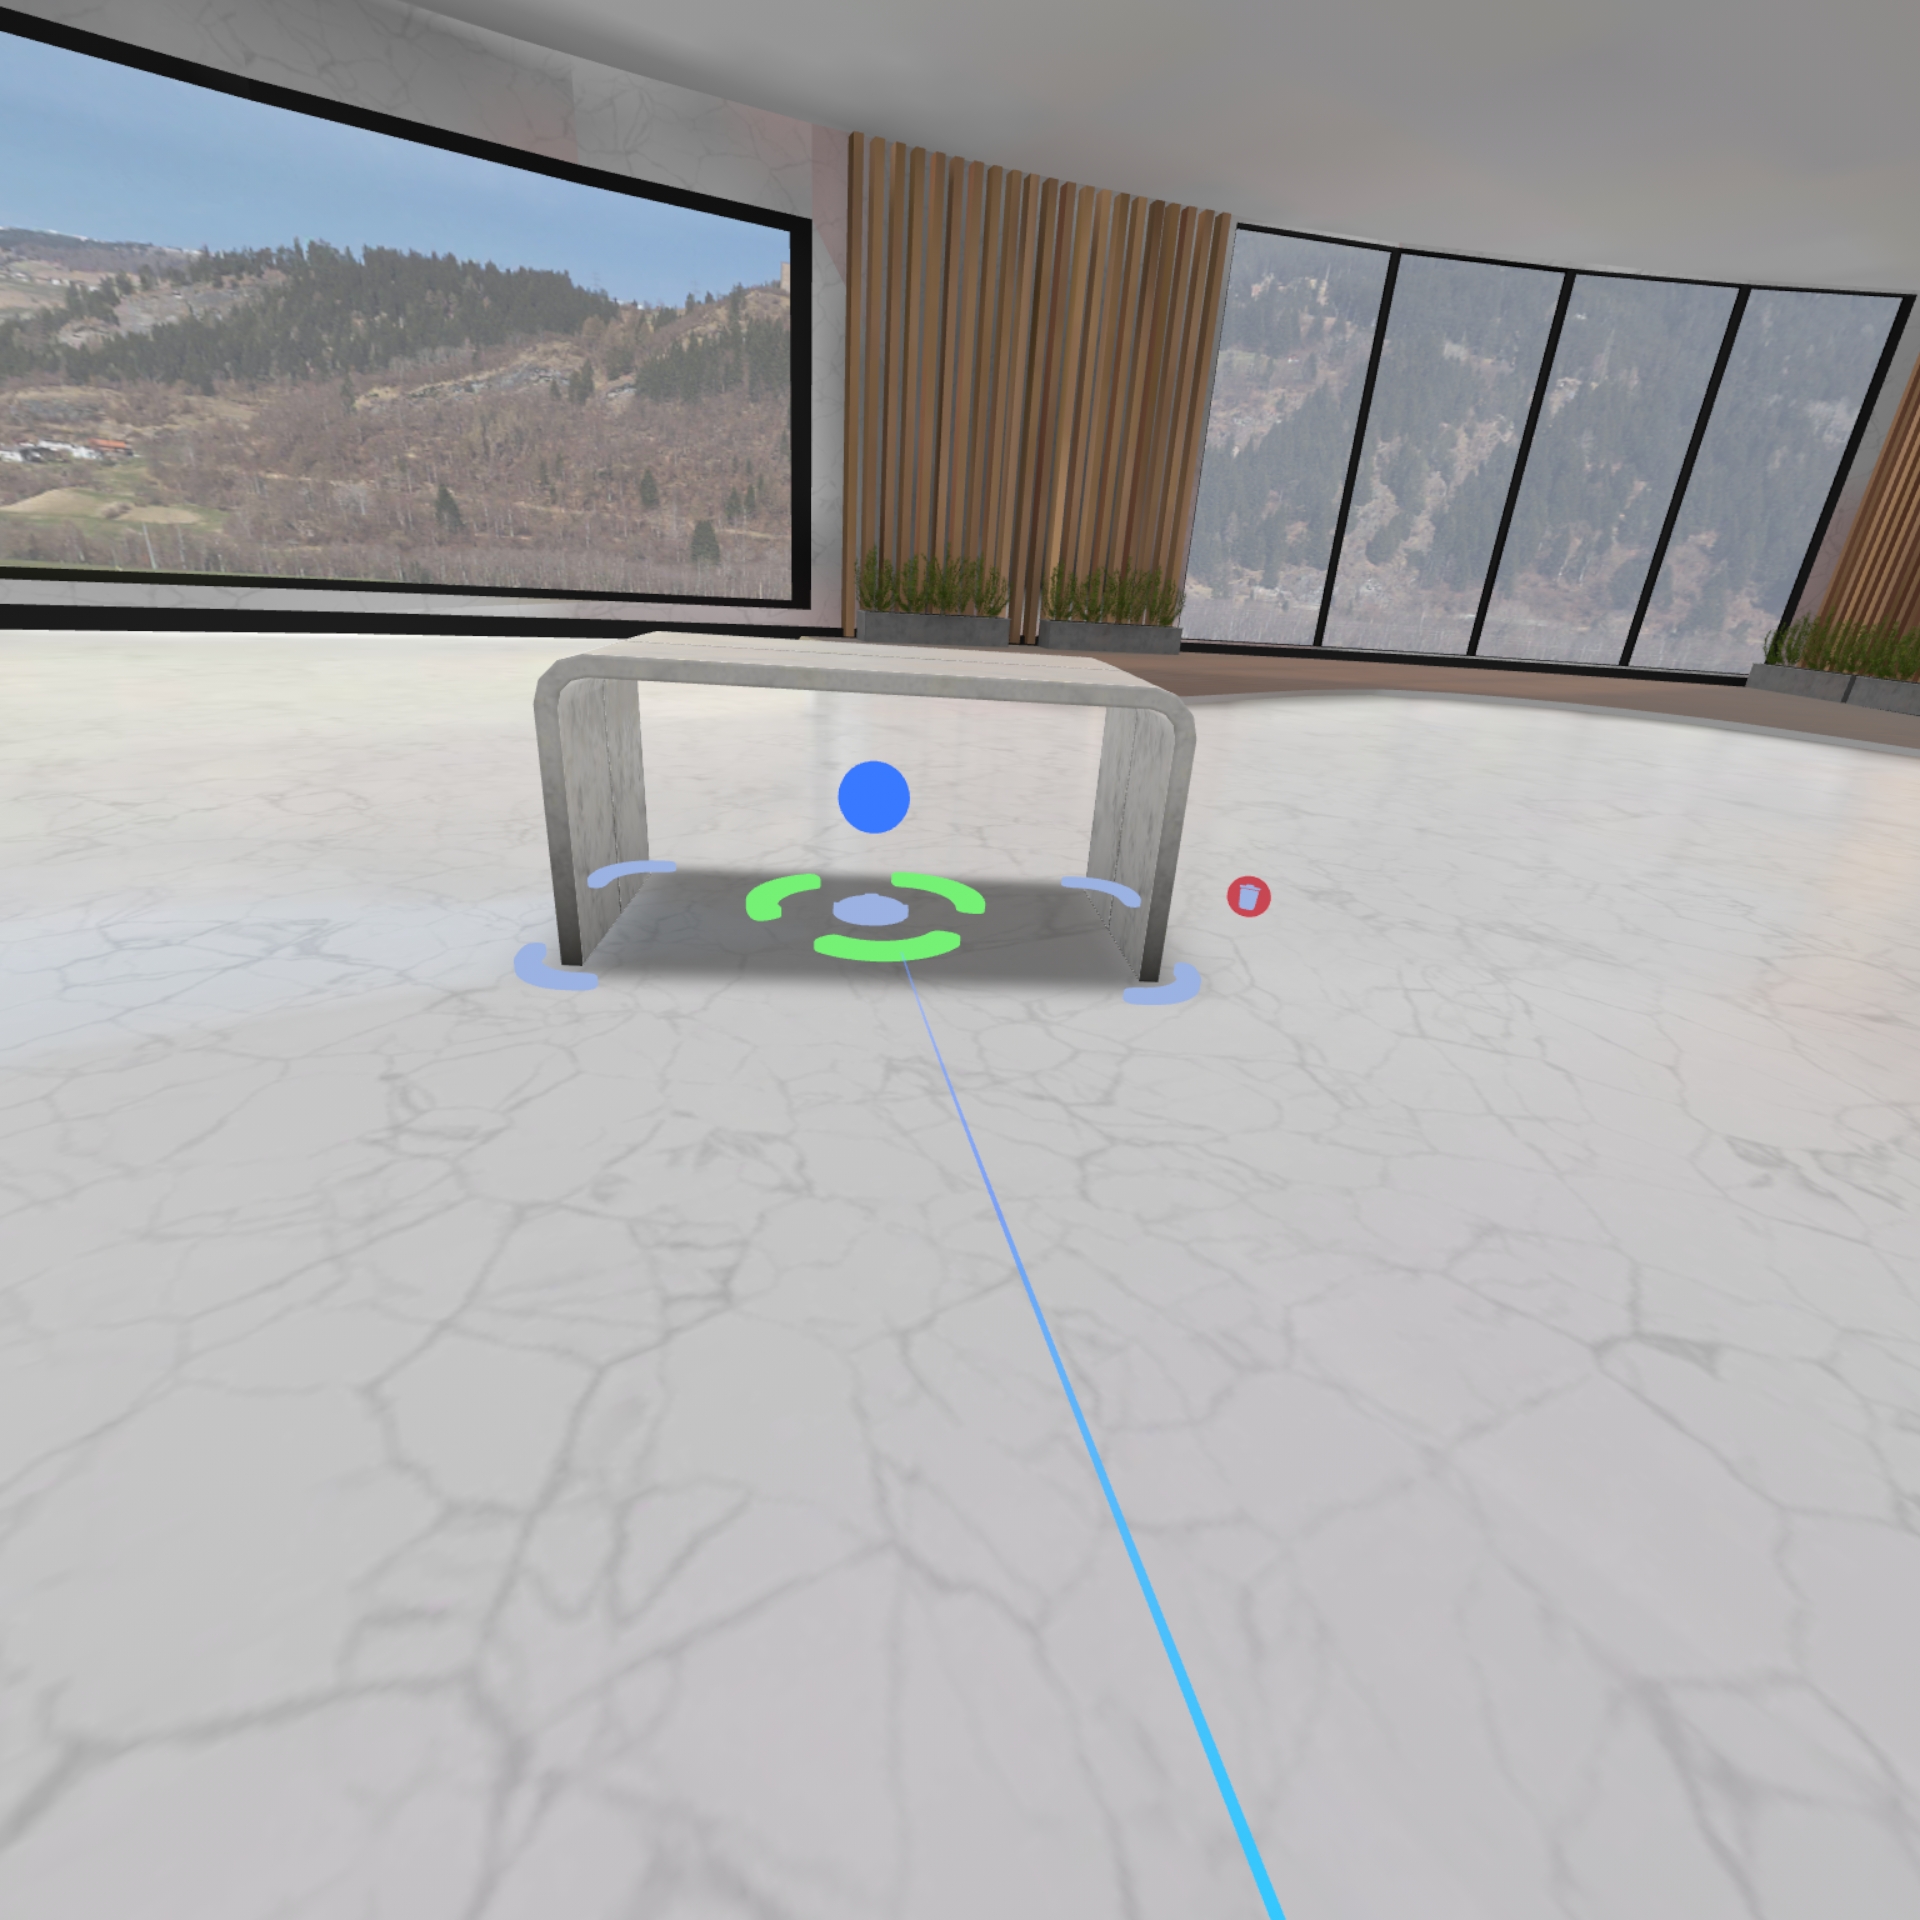
Afterwards you can use the pointer and the trigger button to ‘select’ a placeable you want to change. Every placeable that can be modified has a floating blue ball attached to it that can be selected.
-
Use the trigger button to:
- Select the red inner circle to move the object around.
- Select the green middle circle to rotate the object.
Placeables
Watch these placeable tutorials videos.
Pedestals
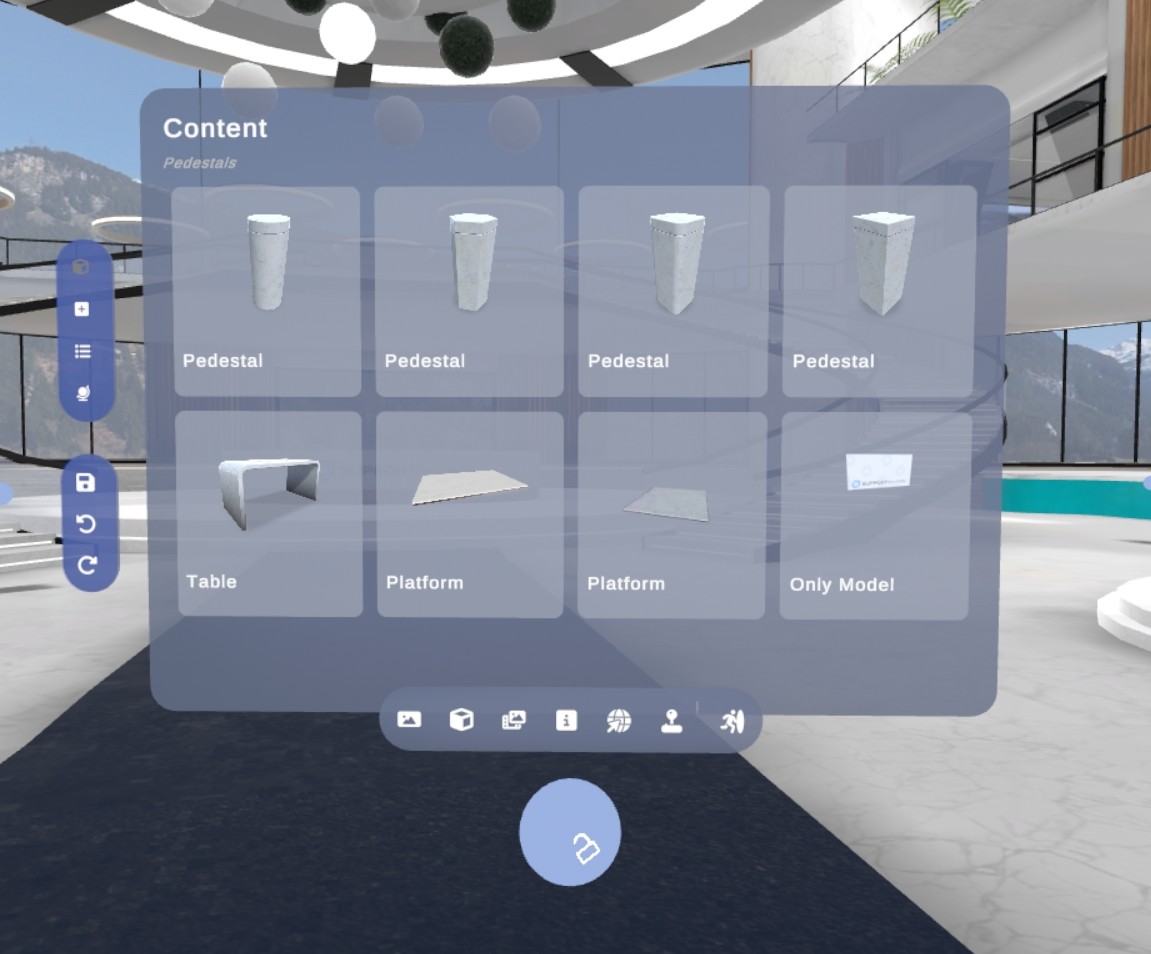
There are different options for pedestals. These are placeables that can hold your 3D-objects.
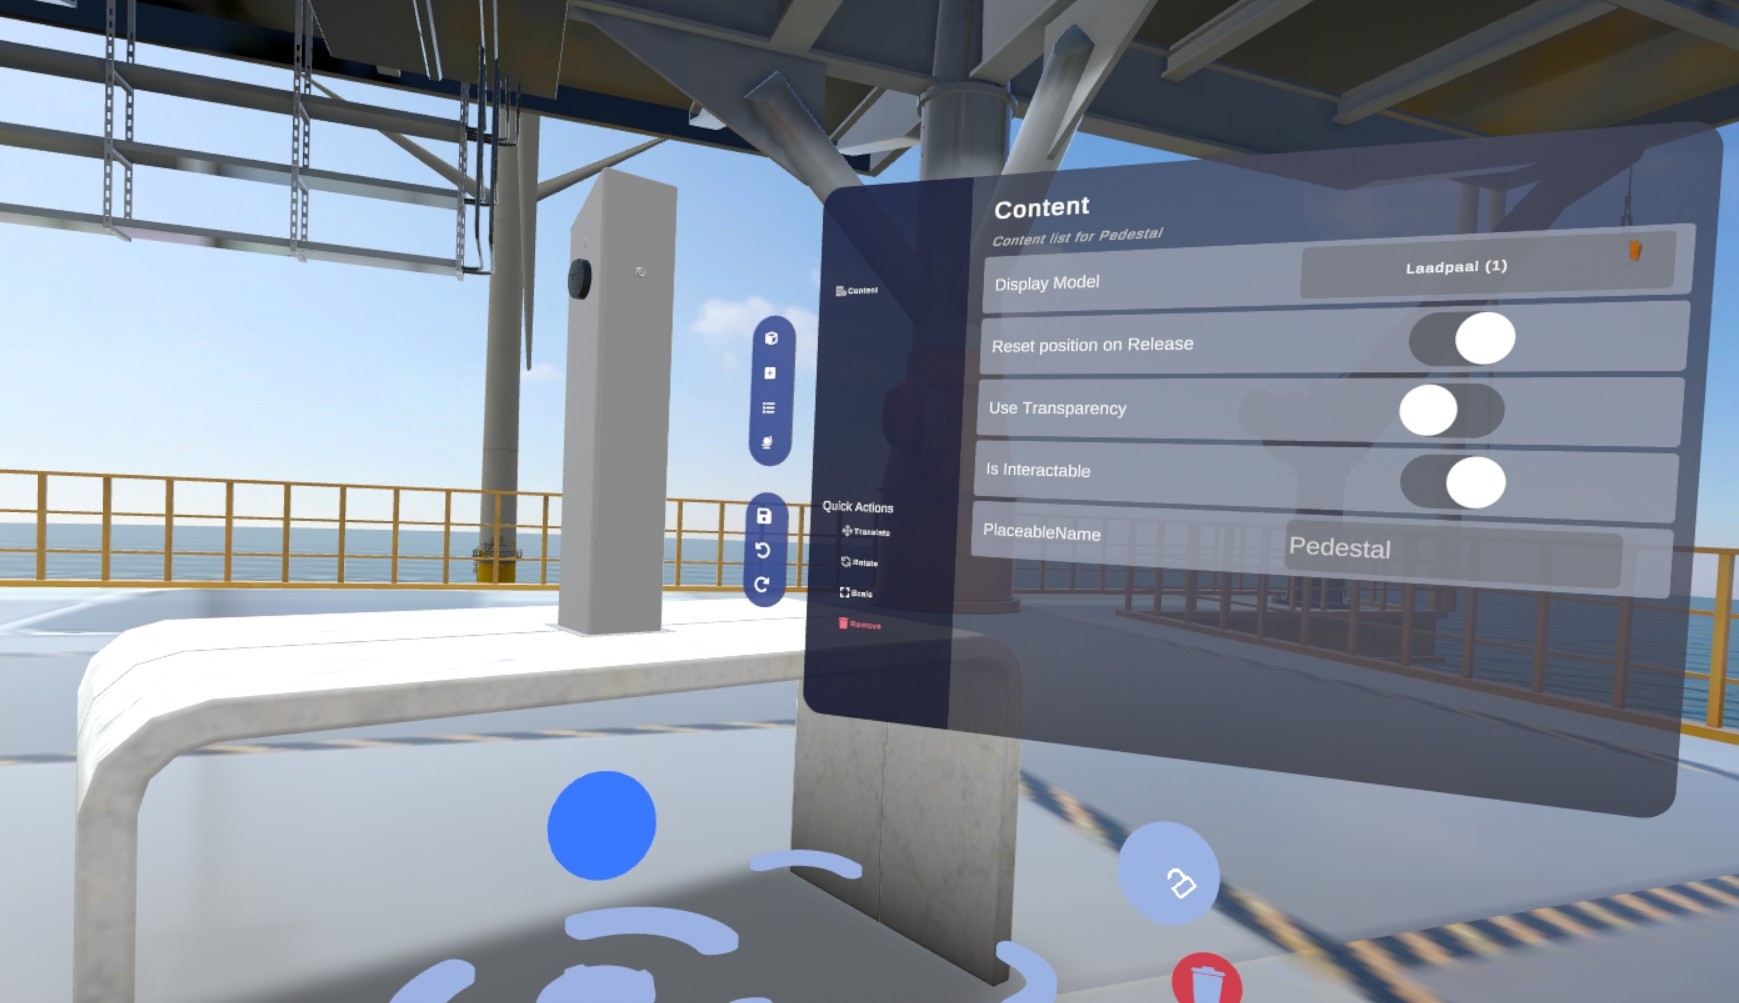
The menu’s options when you have selected a pedestal placeable:
- Display model: Use this button to select an item to visualize on top of the pedestal.
- Reset position: The item will return to his original position when a user releases it from his grip.
- Is Interactable: When this toggle is active you can grab the item from the pedestal. If disabled, the users won’t be able to interact with this item.
- Use Transparency: When this is active, the item will use transparency if it’s available in his materials. If disabled, we force it to not show any transparency.
Banners
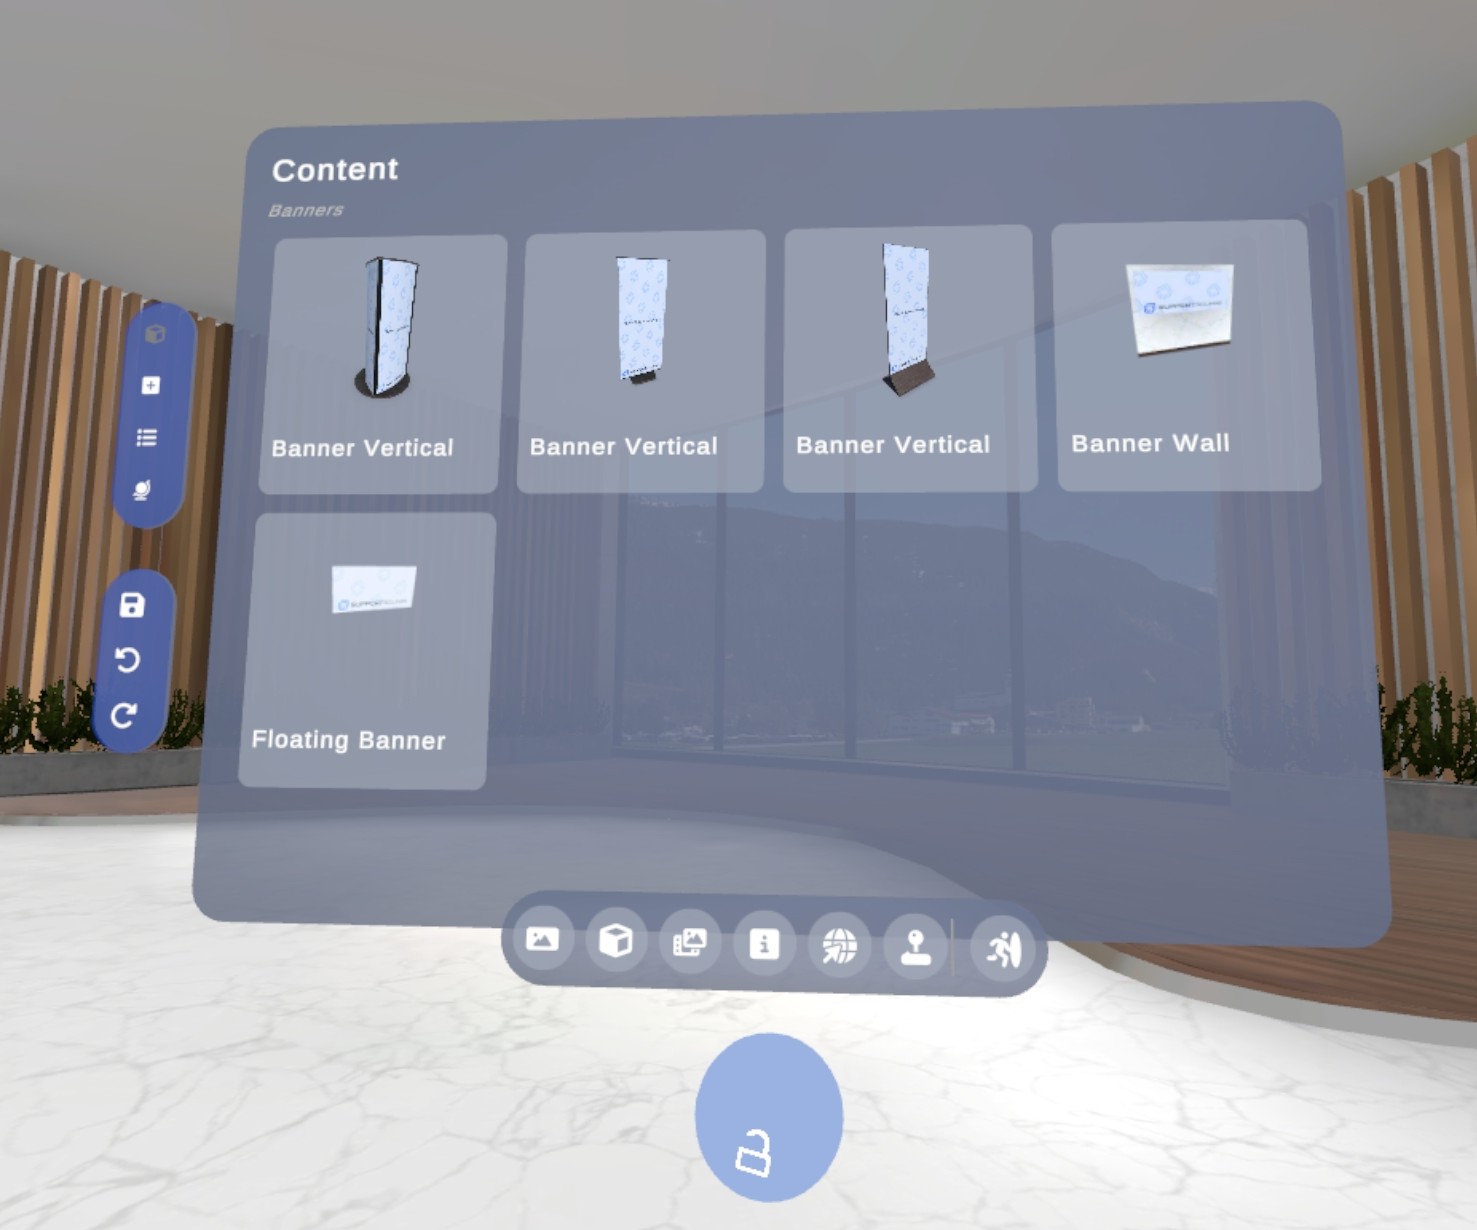
There are different options to display your banners.
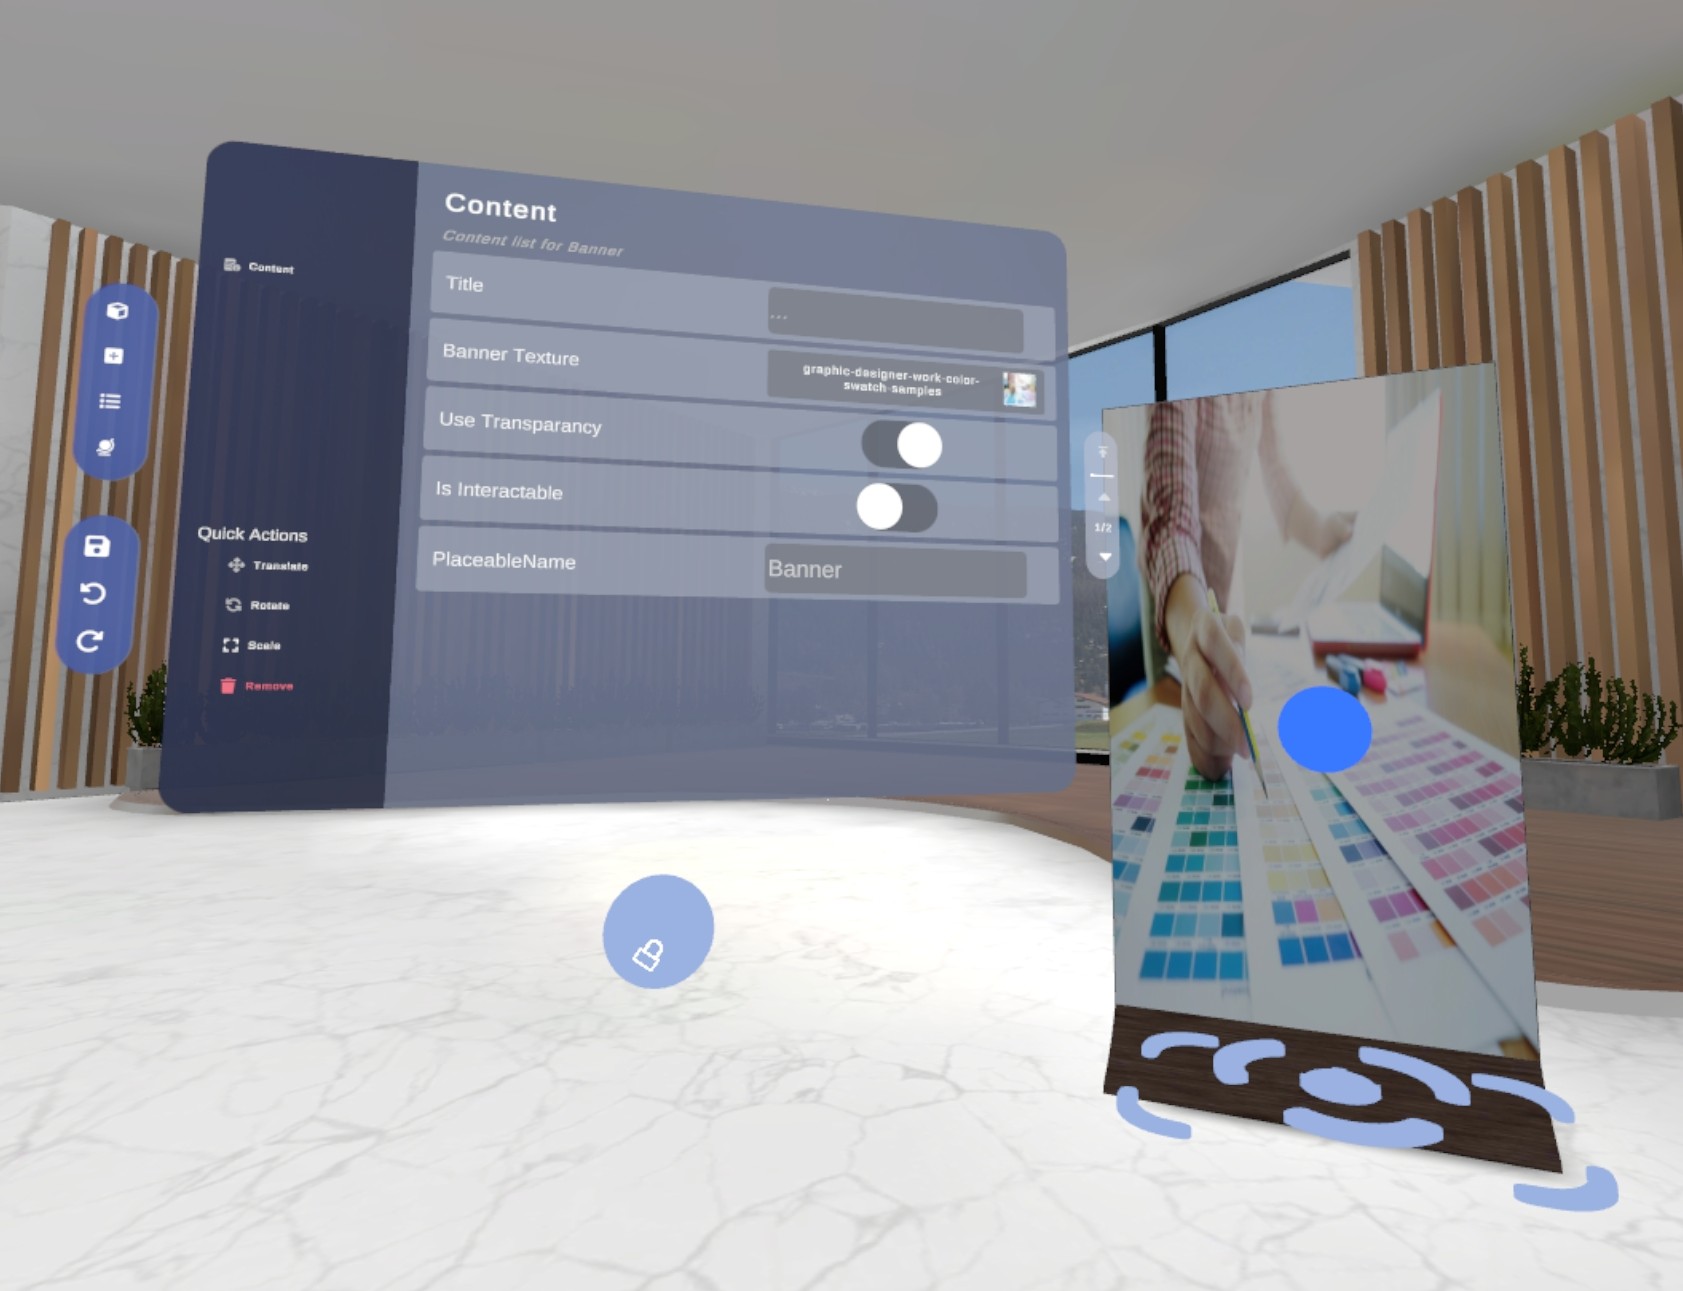
The menu’s options when you have selected a banner placeable:
- Banner Texture: Use this button to select an image to visualize on the banner.
- Title: Some variants can show a title text.
- Transparancy: Parts of the banner will be transparant
- Interactable: You can pick up the banner
- PlaceableName: give a name to this placeable
Info Boards
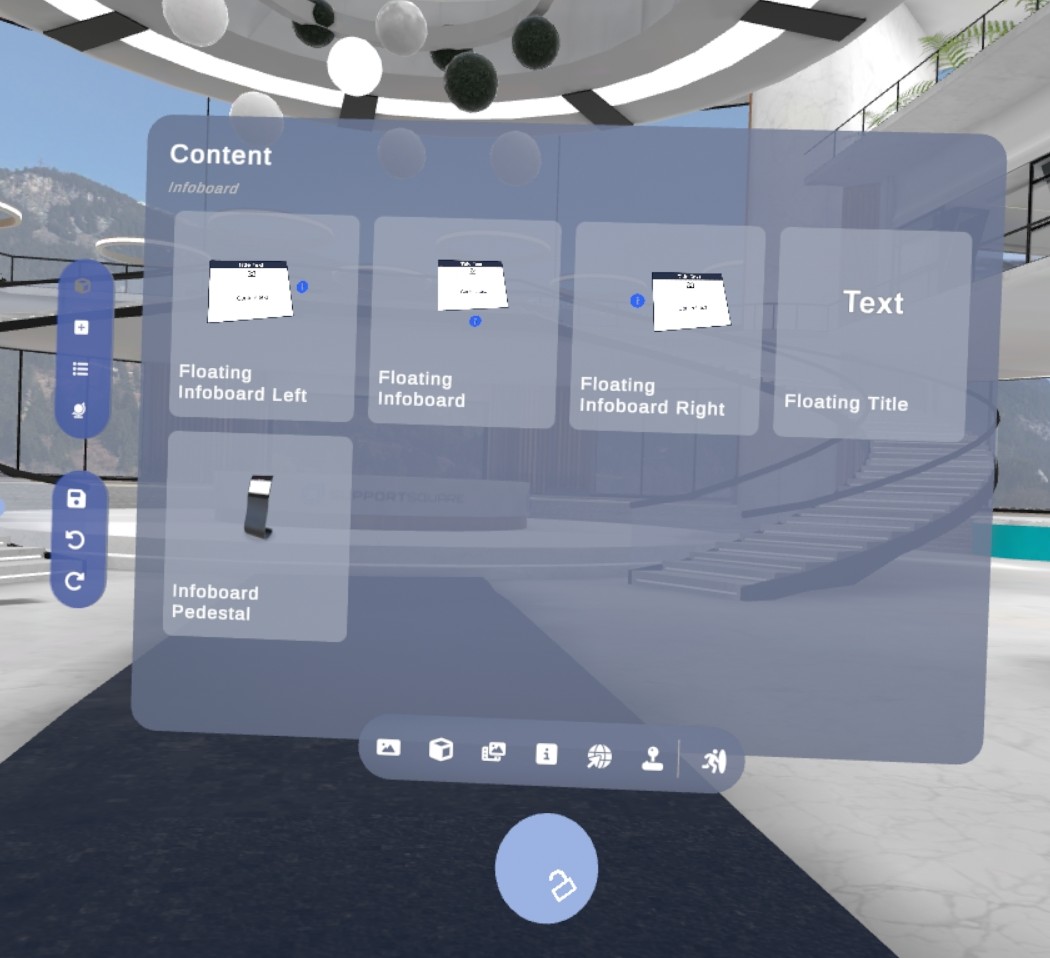
Next to videos, pedestals, portals, etc. you can place info boards to give extra information.
You can choose an alignment of a floating info board (left, middle, right) or a small screen attached to a pedestal.
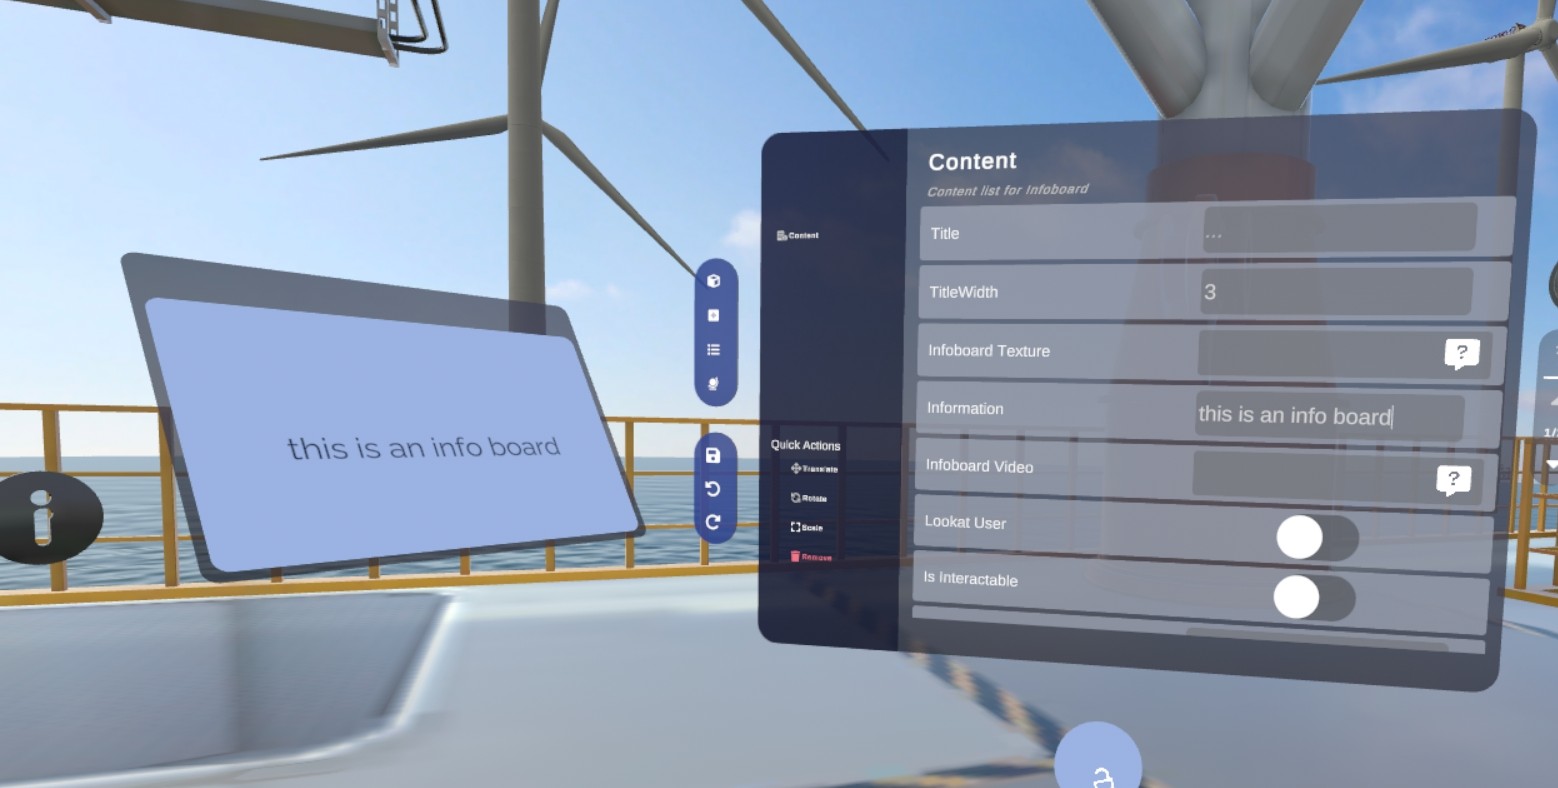
The menu’s options when you have selected an infoboard placeable:
- Title: Main title text will be show in the blue top bar.
- Infoboard Texture: Show an image on the infoboard.
- Information: This is a text field to show a description on the infoboard.
- Information Video: When a video is selected It will take over the whole screen. The information text will not be shown.
- Lookat User: When this toggle is selected the floating panel will always face the user.
Video screens
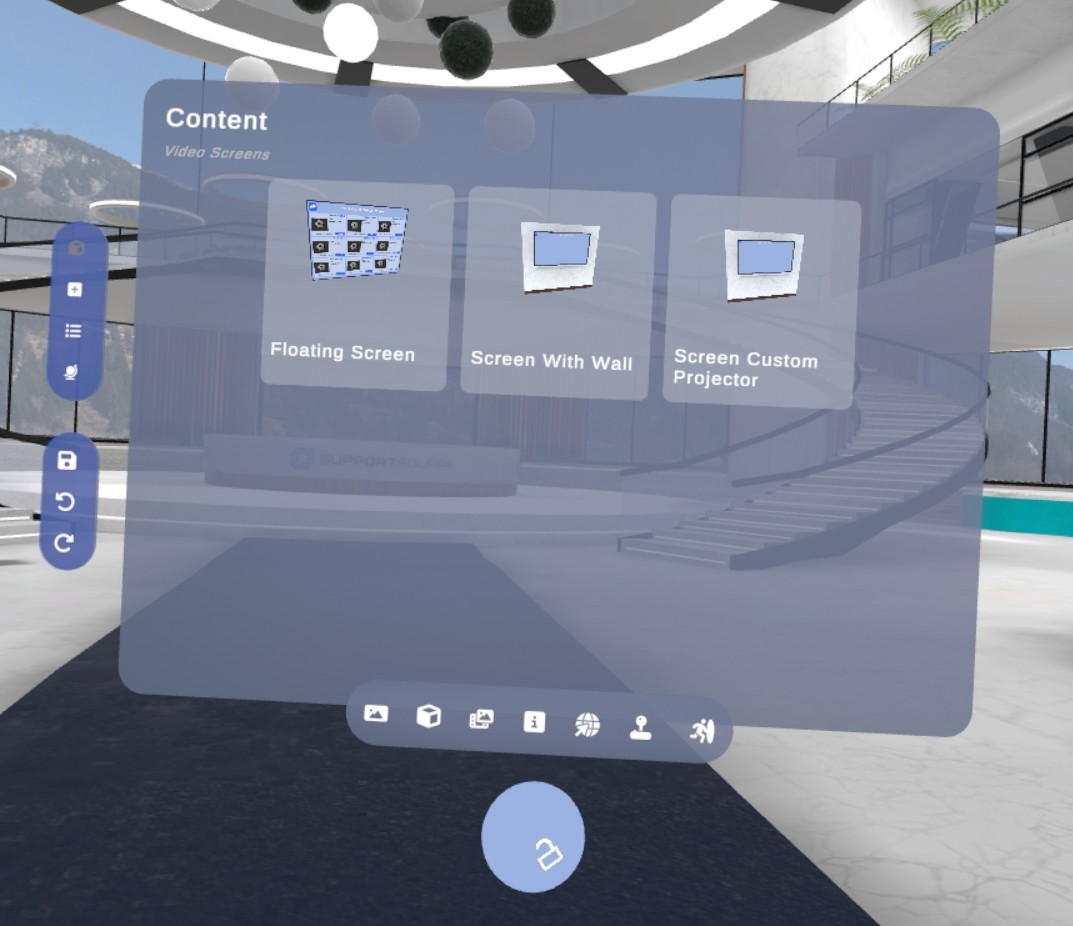
There are three options for video screens: a video on a wall, a standalone video screen or a user defined video screen.
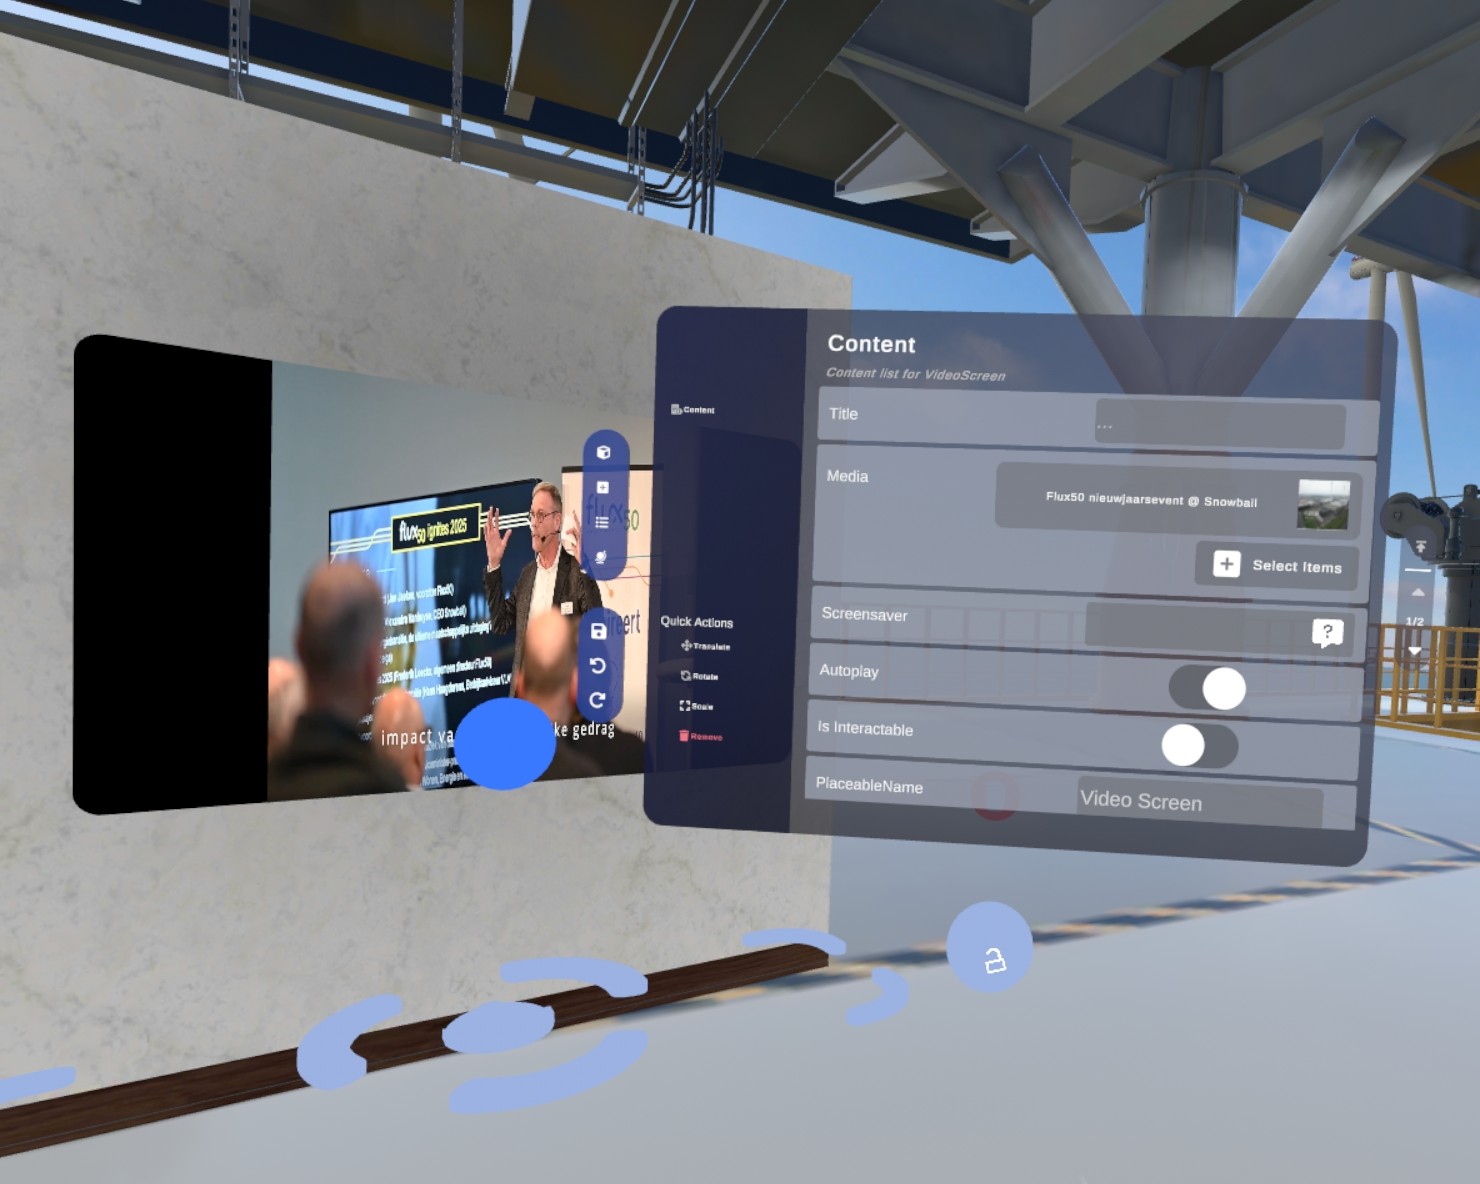
The important menu options when you have selected a video screen placeable:
- Title: Some variants can show a title text.
- Media: Use this button to select images, videos and pdf to add to the video screen.
- Autoplay: When this toggle is active the list of media will play as a list one by one and loop.
Web browsers
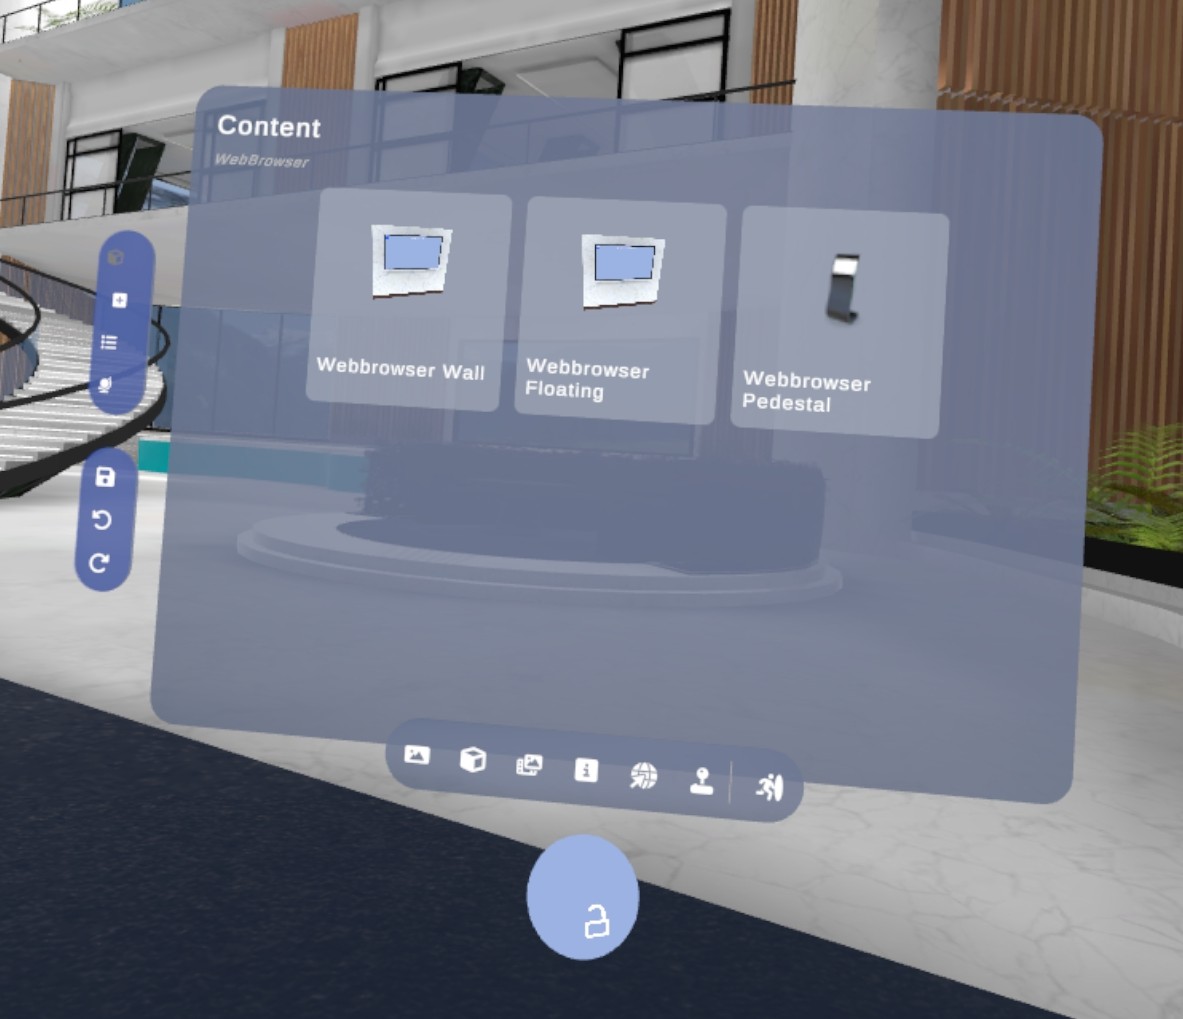
If you want to put web browsers in your workplace to show different websites, you can do so with three options: a floating screen, a screen attached to a pedestal or a wall.
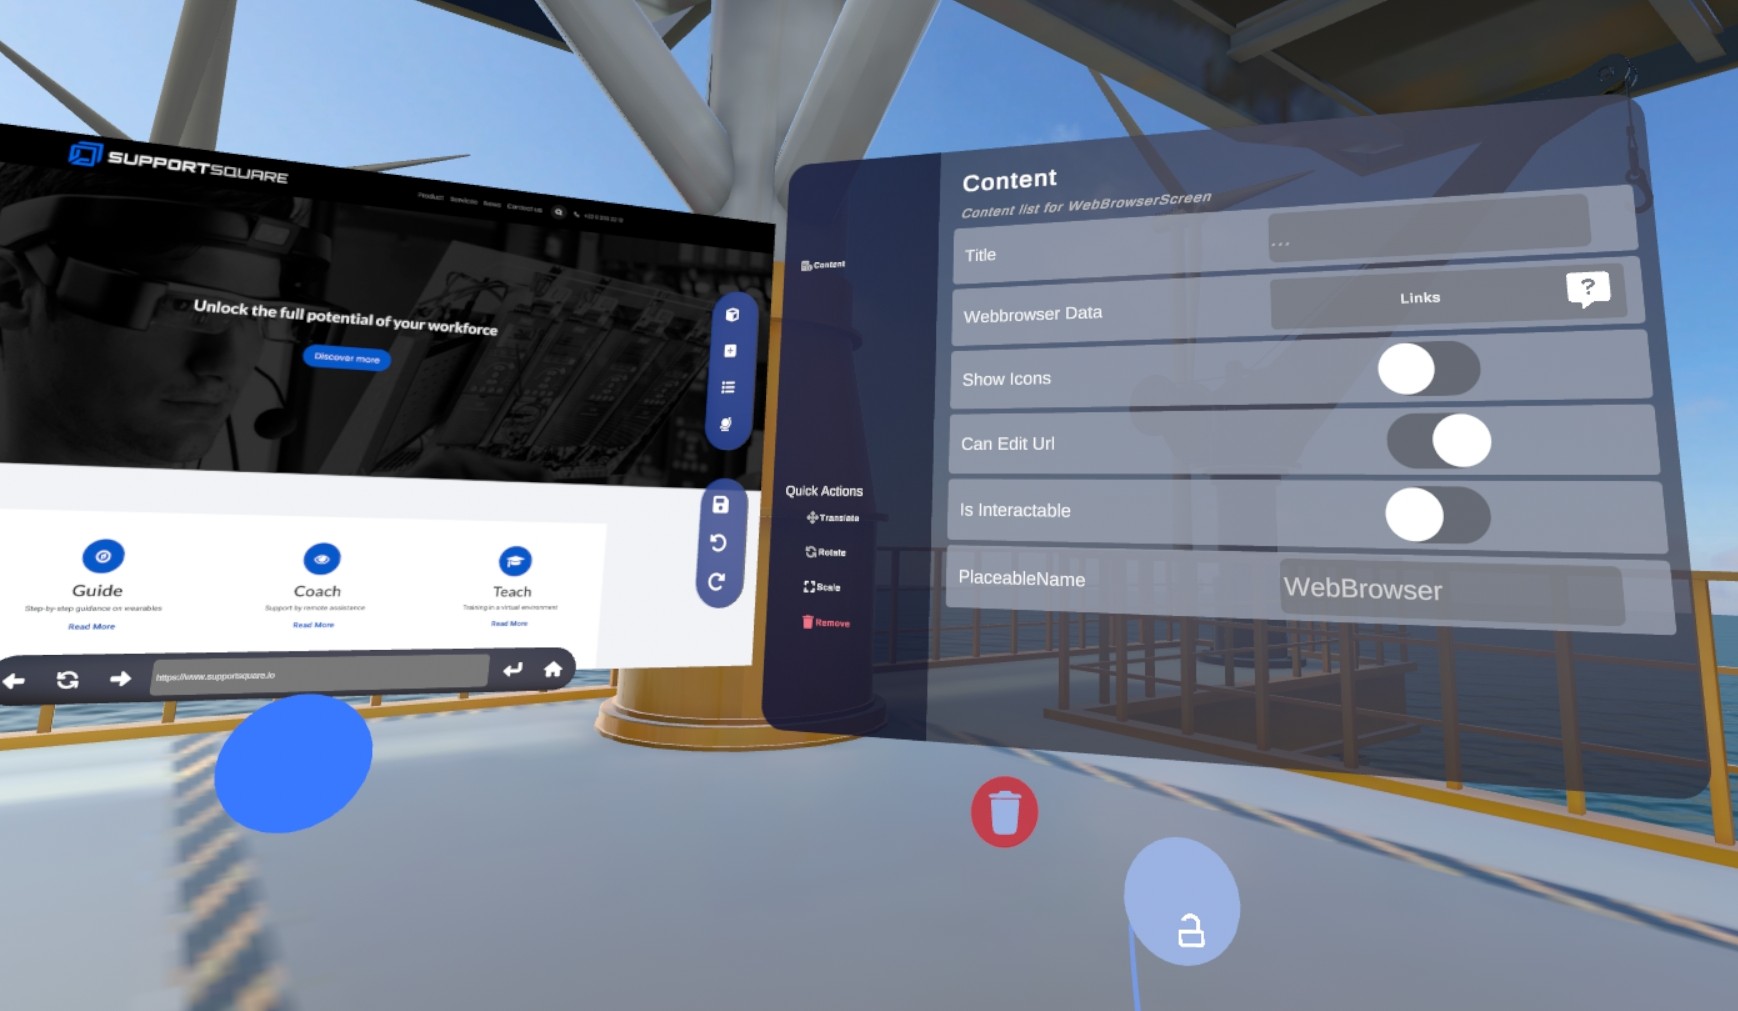
The important menu options when you have selected a web browser placeable:
- Web browser Data: Use this button to select a Web browser Txt data file. This is a text file uploaded on the XR Platform in Workplace data that contains the homepage and bookmarks if there are any. Make sure to use this standard in the txt-file: 'Homepage: [INSERT URL]'. If you want to add bookmarks, add them underneath the homepage as: Bookmarks: Bookmark title 1: [INSERT URL] Bookmark title 2: [INSERT URL]
- Show Icons: When this toggle is selected it will show the favicons next to the bookmarks if available.
- Can Edit Url: When this toggle is selected you can change the url link of the browser. Anyone can then type any domain in as they want.
To create a Web browser Data text file, you need to follow this layout:
Portals
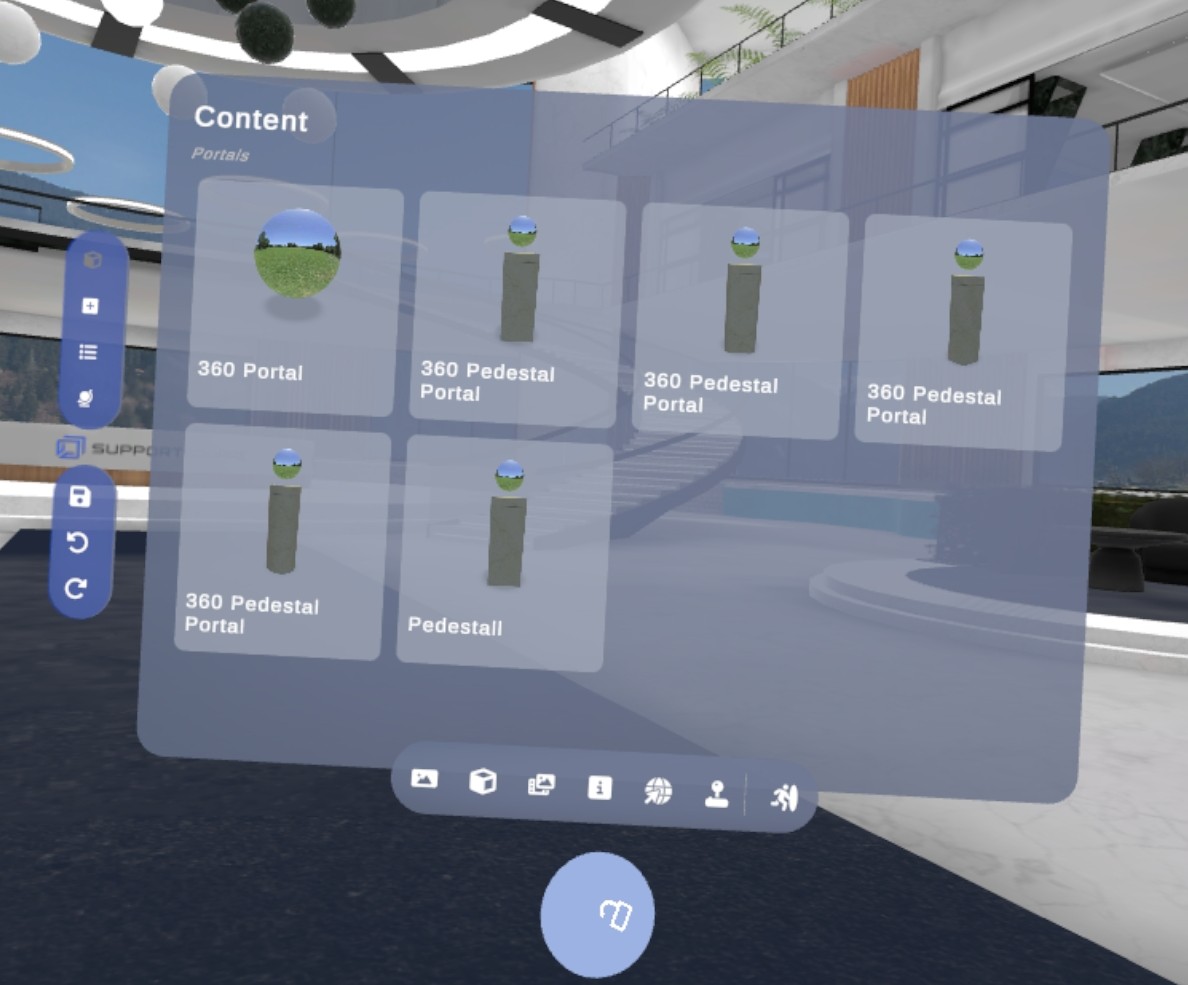
There two different kinds of portals you can add in 360 Media:
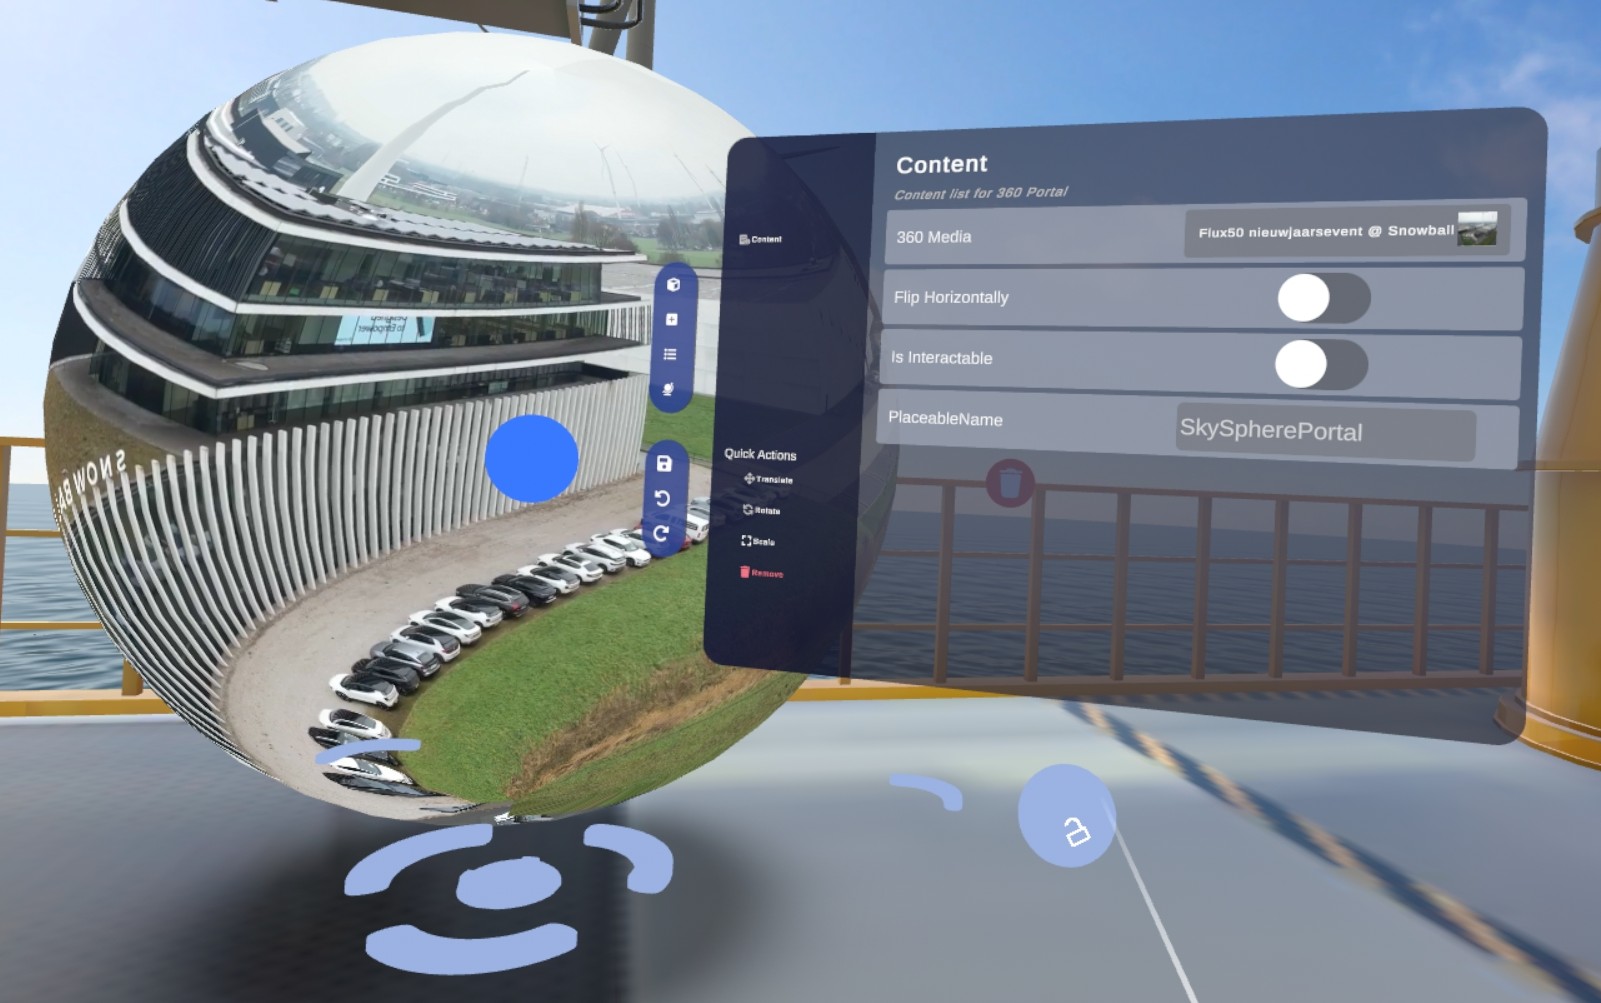
-
A portal to a 360° picture or video: people can jump around in this space to look at this picture all around them. For this you can use spheres on pedestals or a big free-floating sphere. Use the ‘360 media’ button to select your picture.
-
A portal to a 3D scene: this is a 3D environment. For this you can use spheres on a pedestal. Use the ‘floorscene’ button to select the scene.
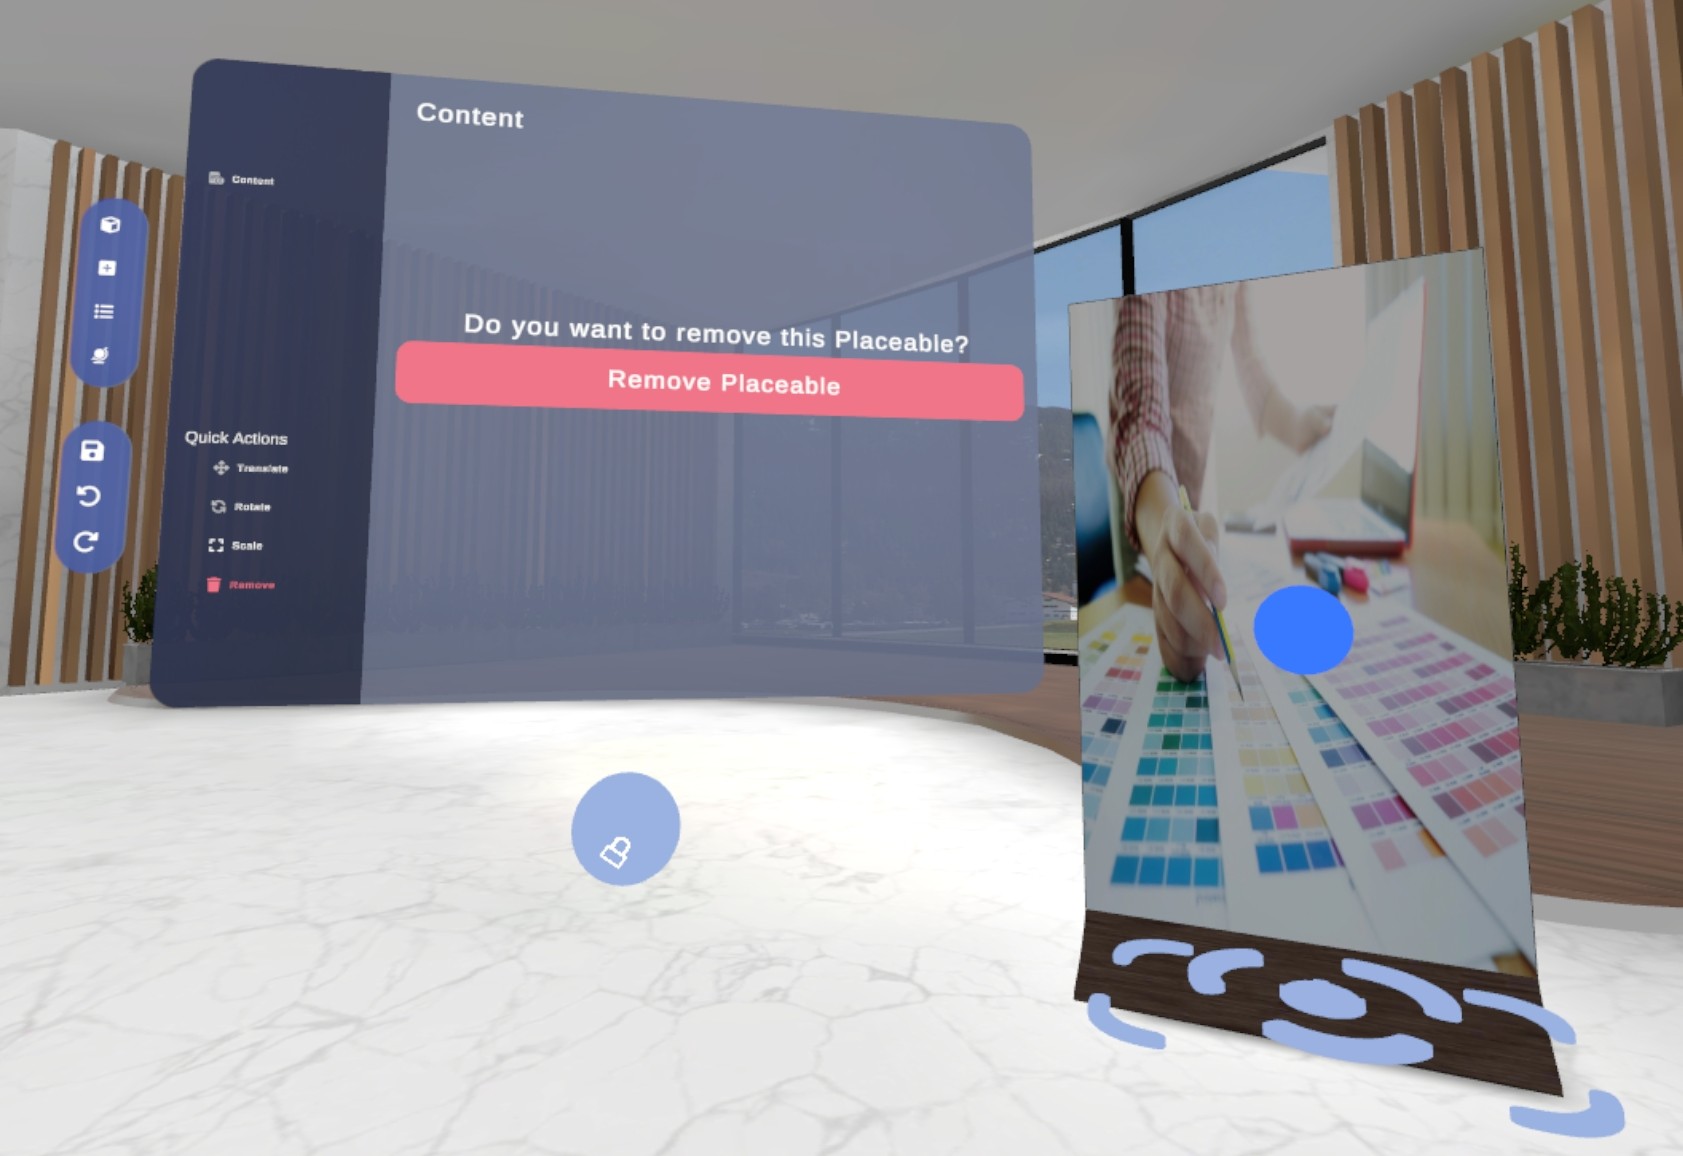
Remove placeables
You can remove placeables while editing them. Press the Remove button and Remove Placeable.
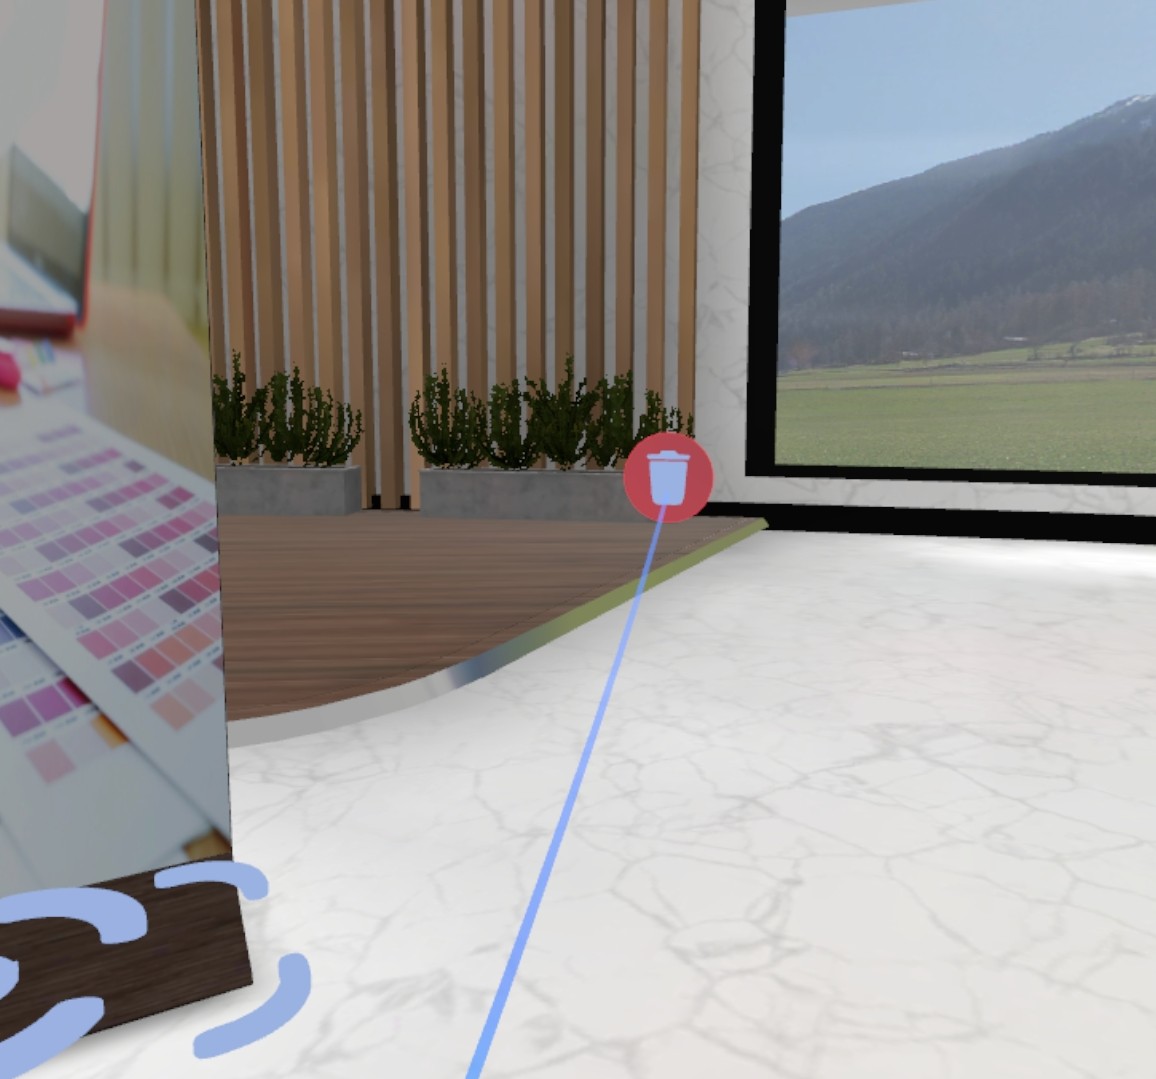
You can also remove placeables by pressing this icon next to the placeable.
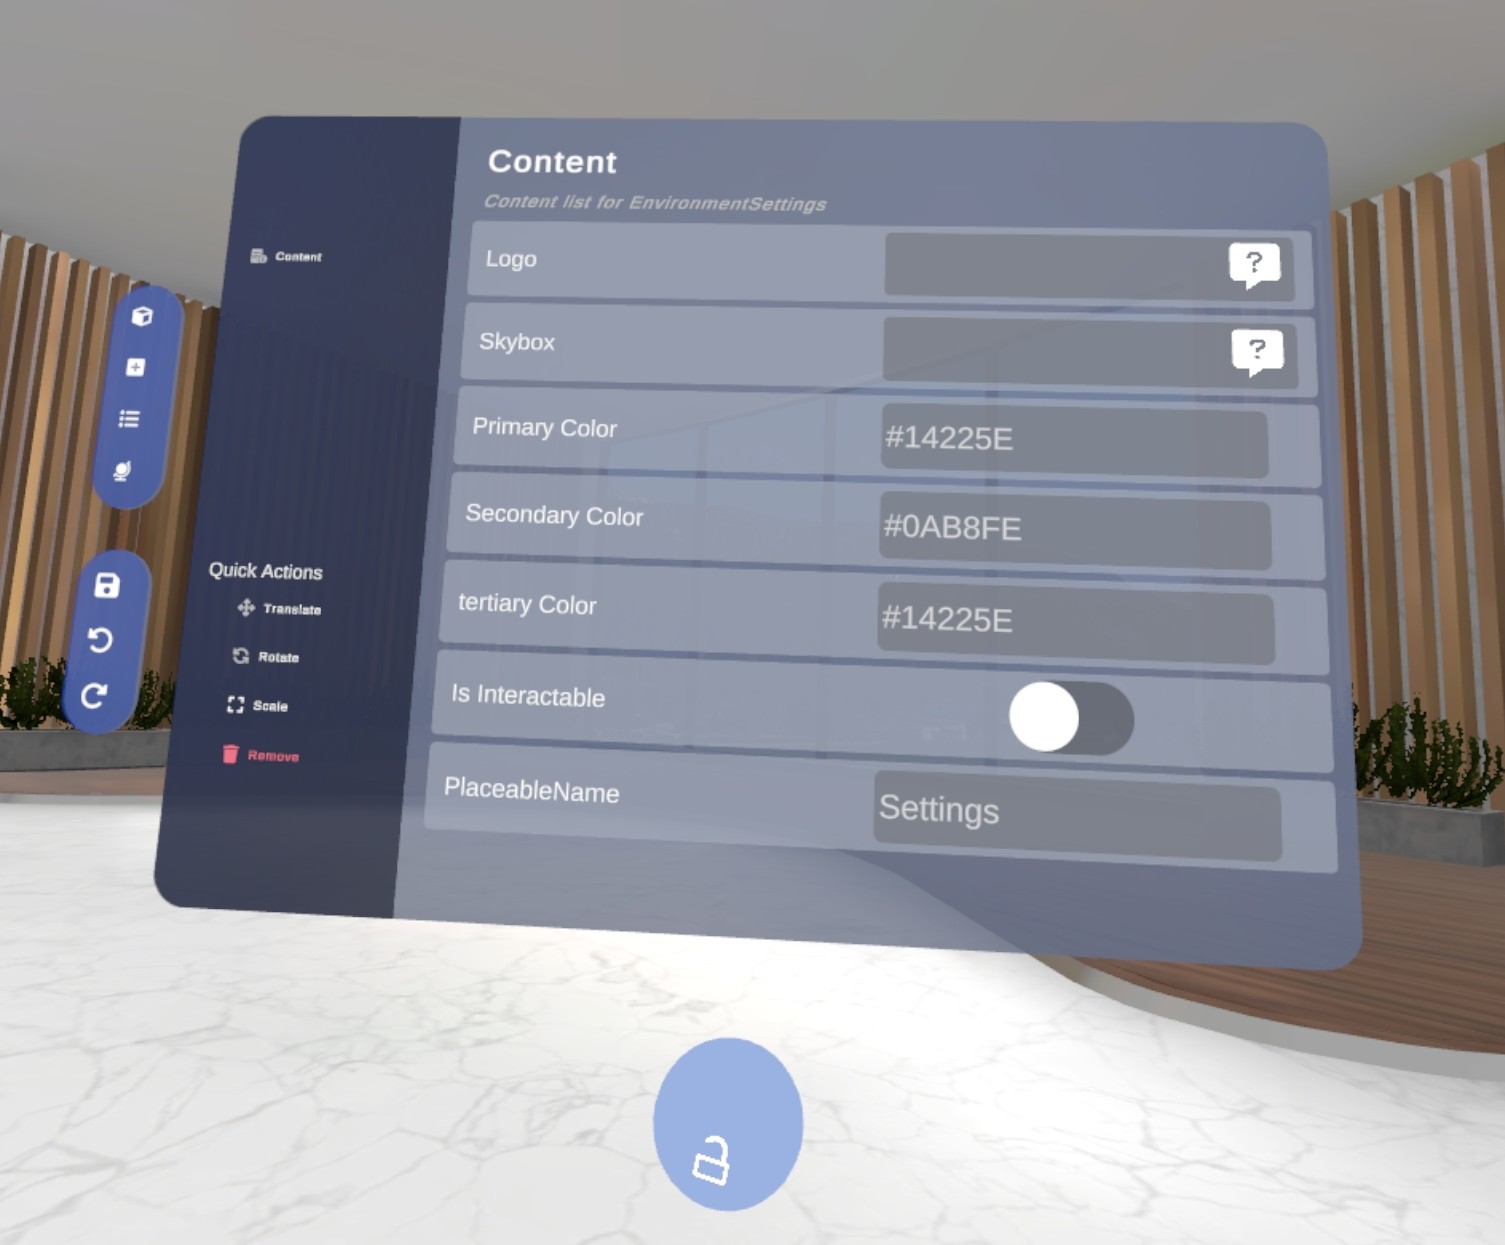
How to change the main logo, skybox and colors of the Workplace
Go to Workplace settings in the designer menu.
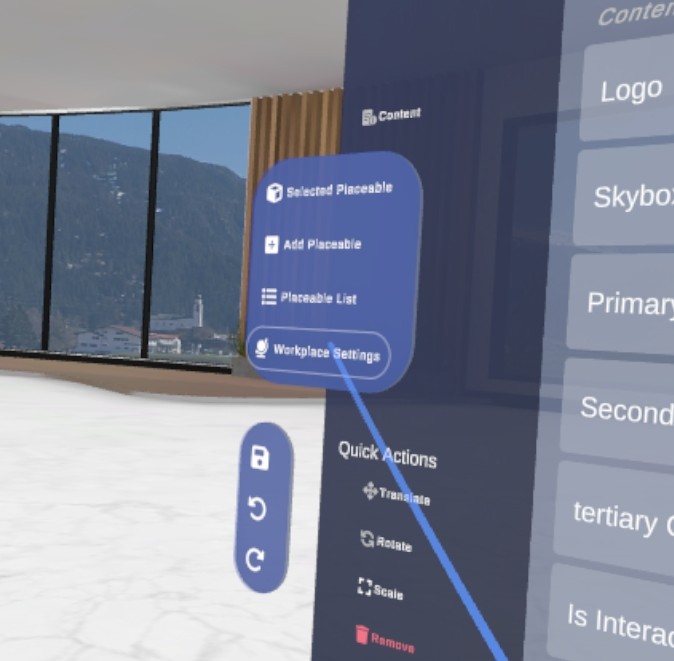
Here you can add your logo and change the skybox. Make sure this image is a sphere.
Try changing the colors of your workplace to match your needs.
How to save the Workplace
Press the Save icon on the left when in the designer menu
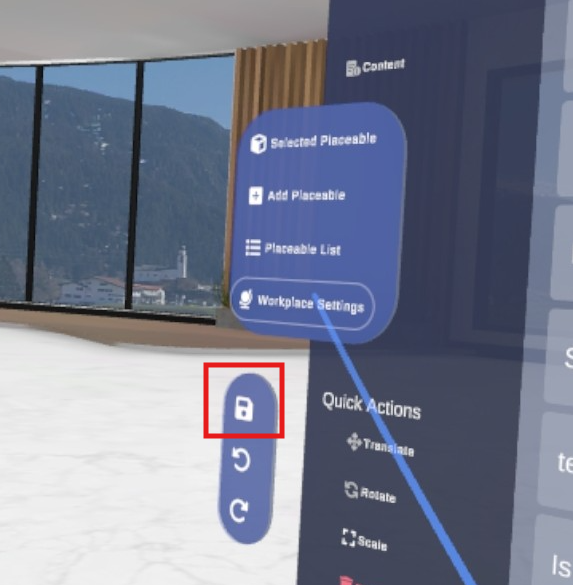
When leaving the workplace, you will be asked to save if you made changes

How do I change the main Explore hub of my organization?
The main hub is the default Workplace all users can enter in VR from the elevator.
- Go to the XR Platform
Note
Make sure you have the Administrator role. You can change roles by clicking on them and switch to another one in the list.

- Go to ‘Organizations’ and select the organization where you’d like to change the default workplace.
- Click on ‘Default workplace’ and change it to the one you need.